This post may contain affiliate links, please see our privacy policy for details.
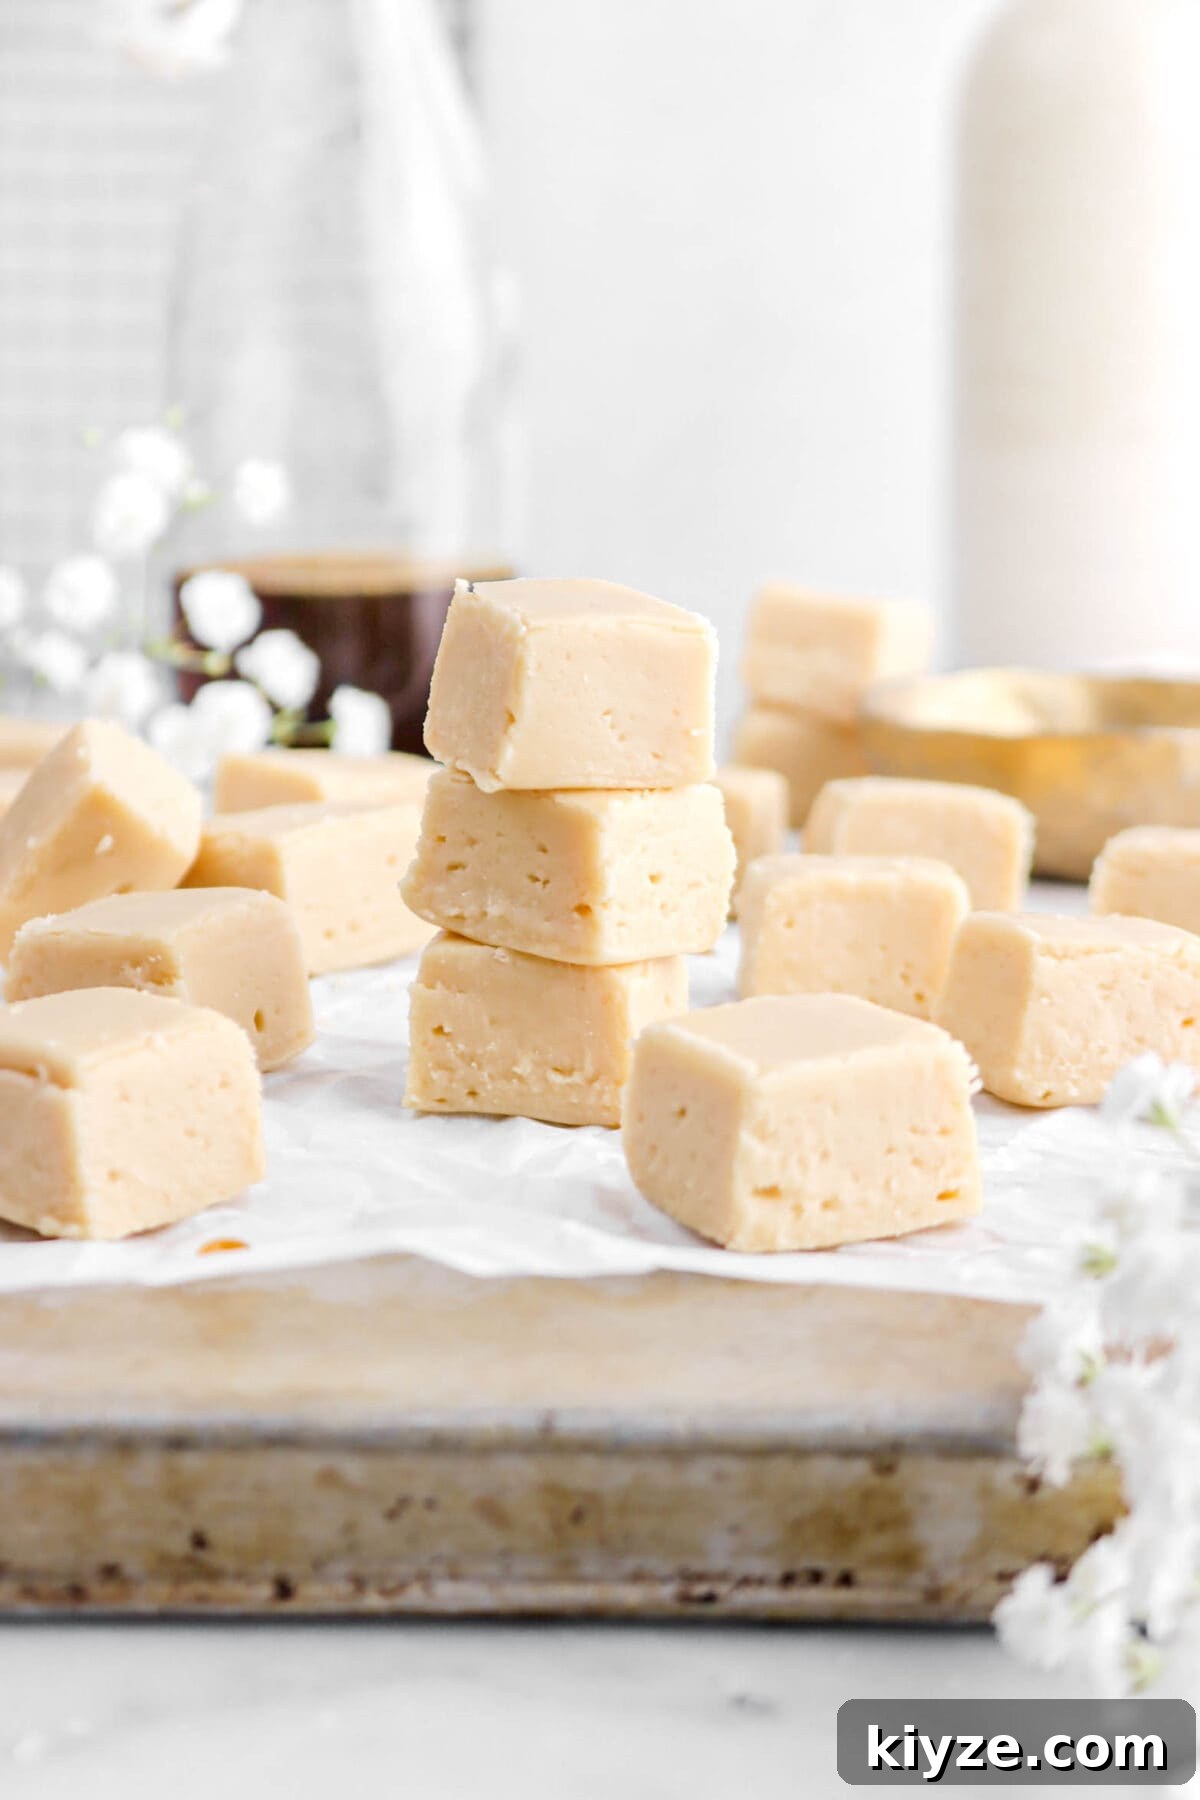
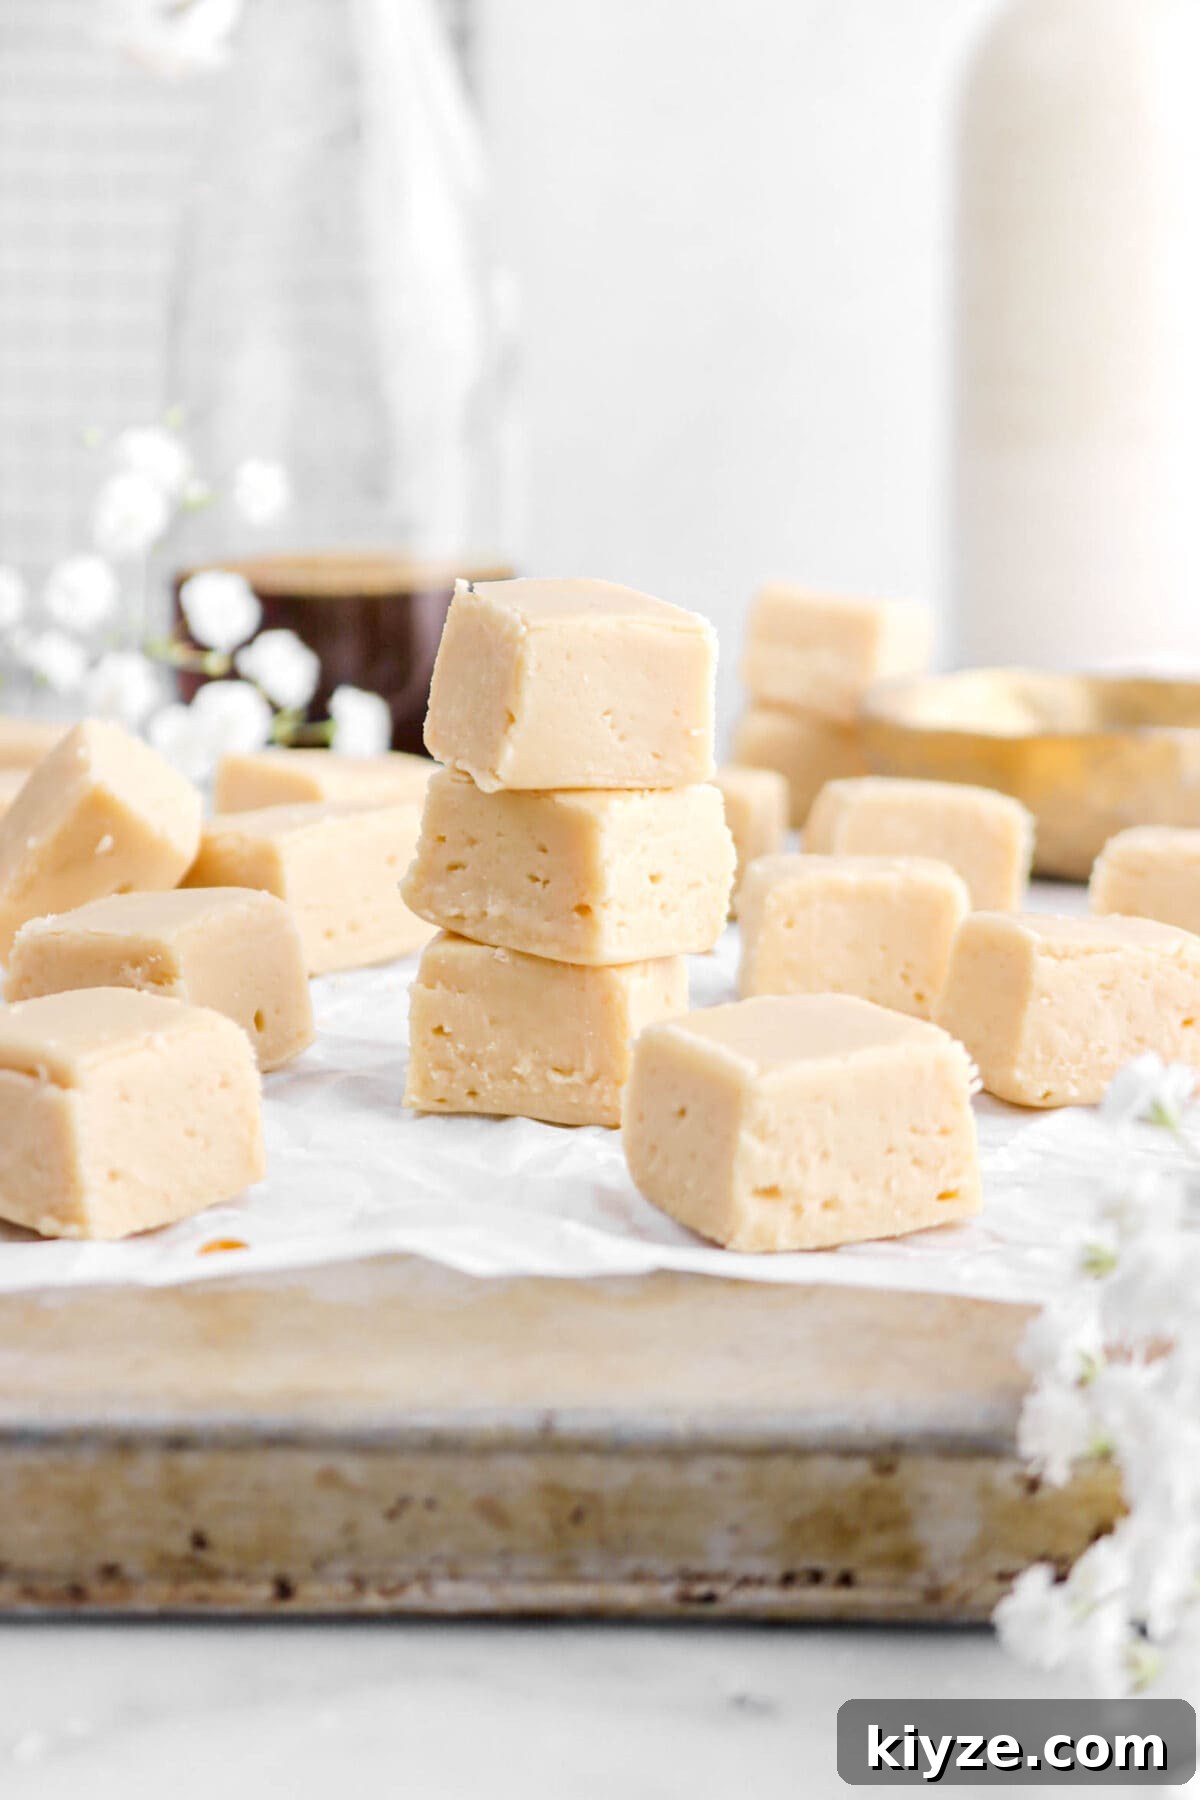
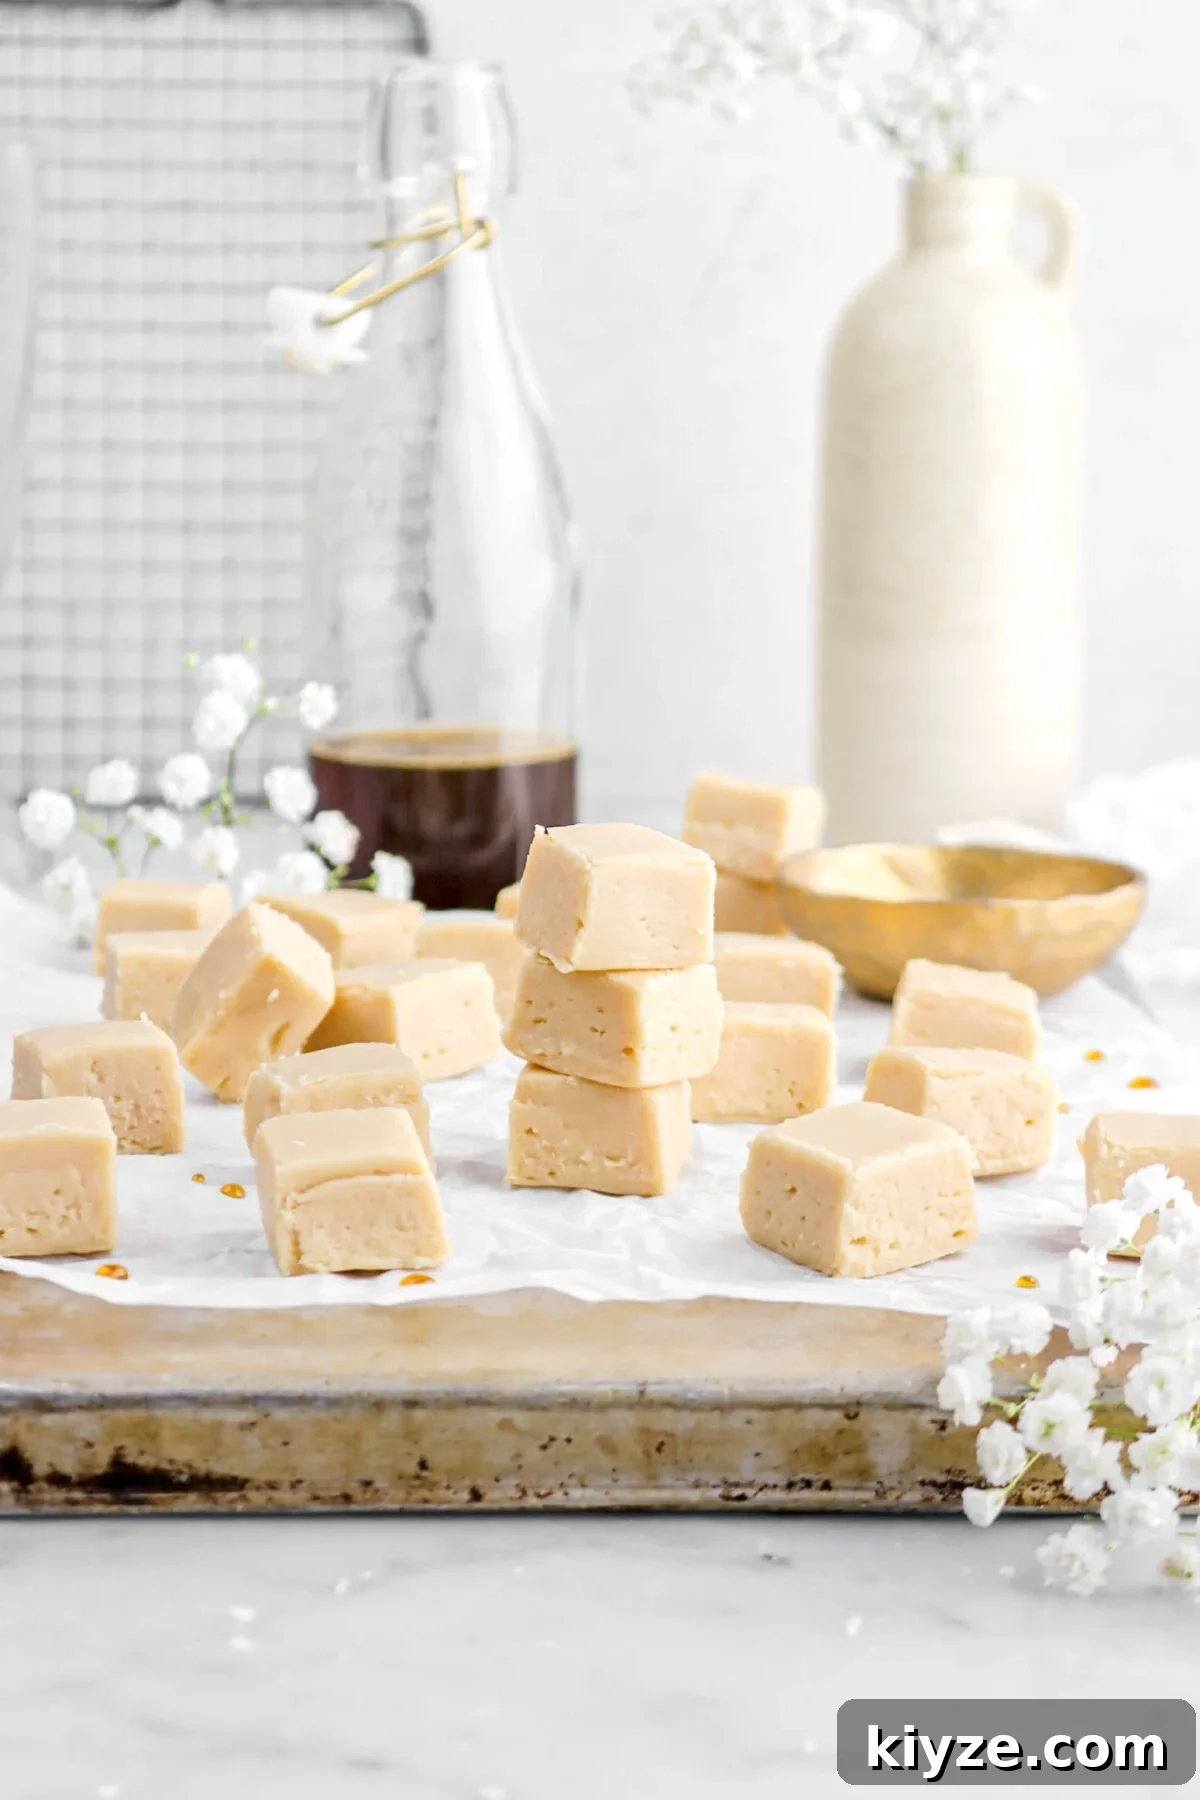
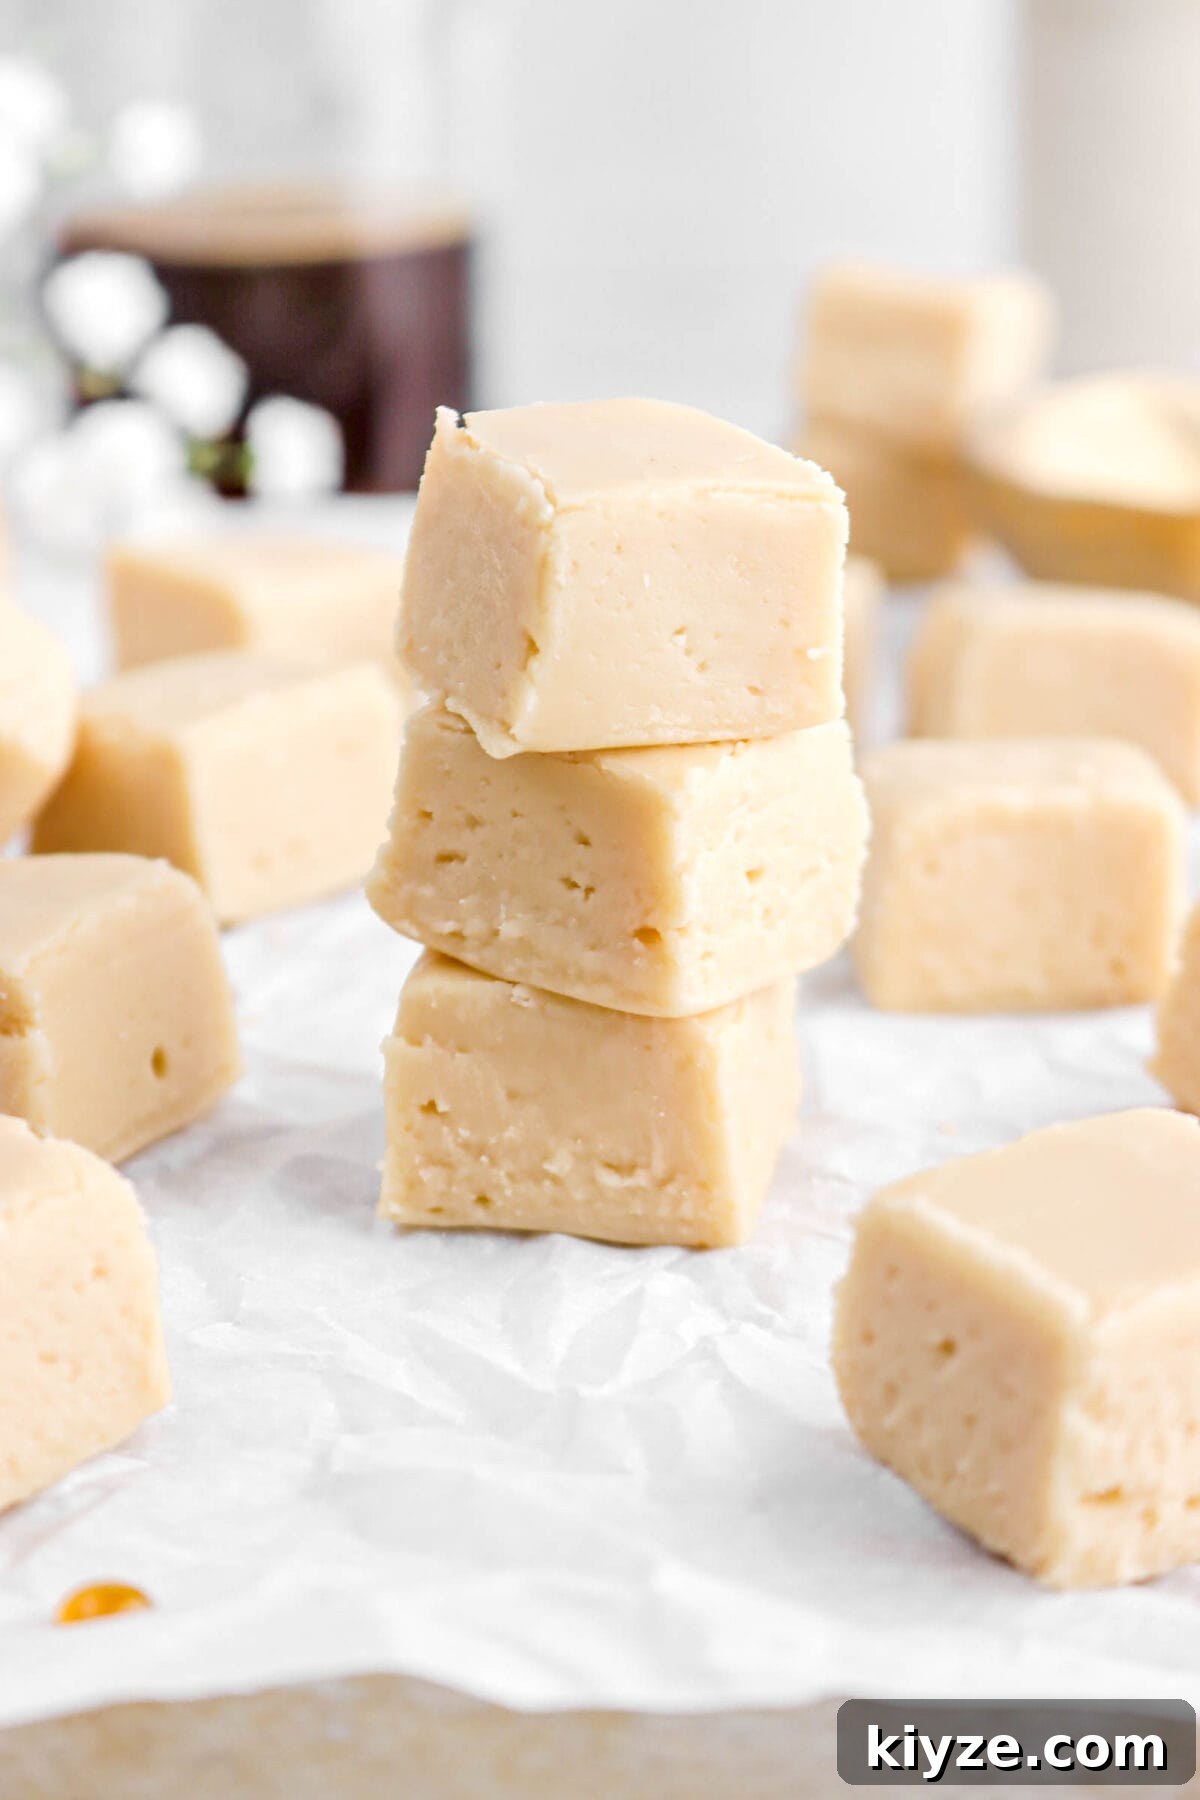
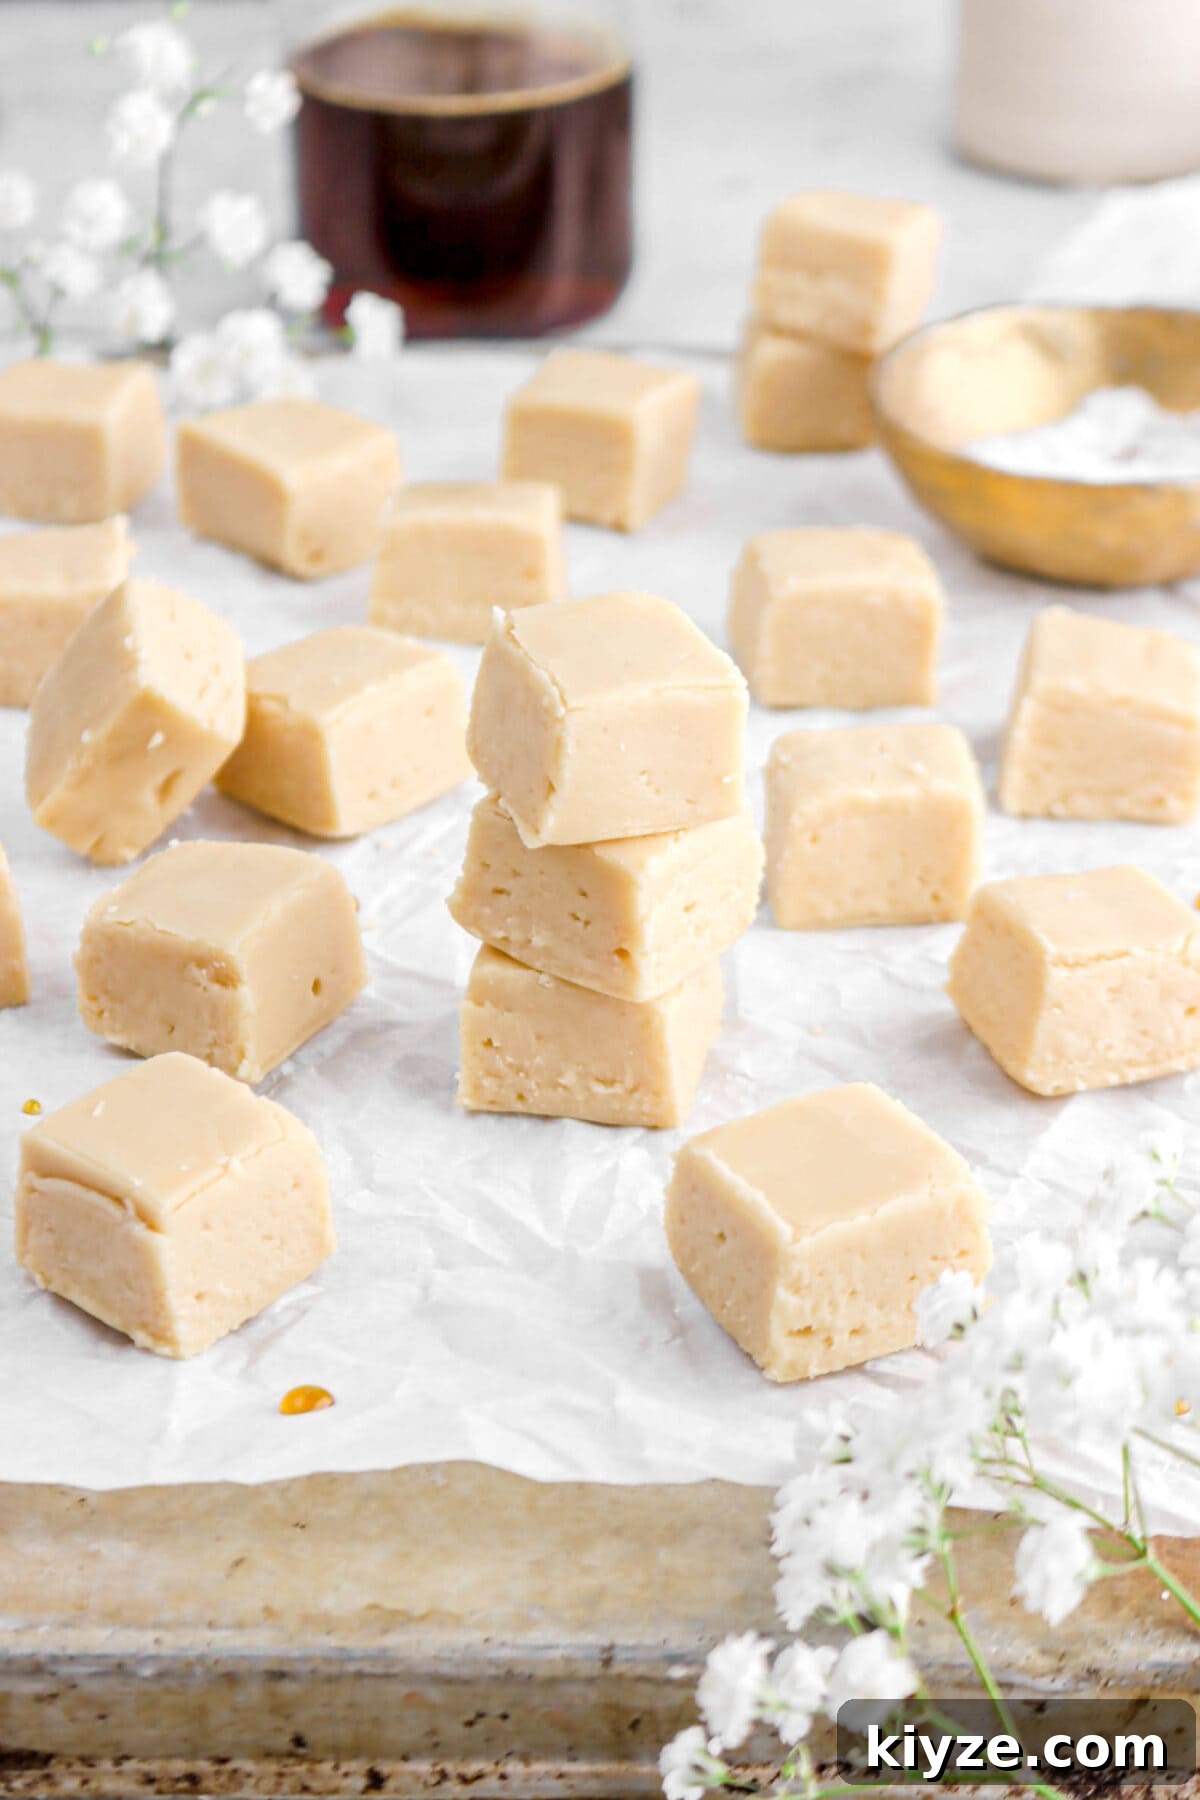
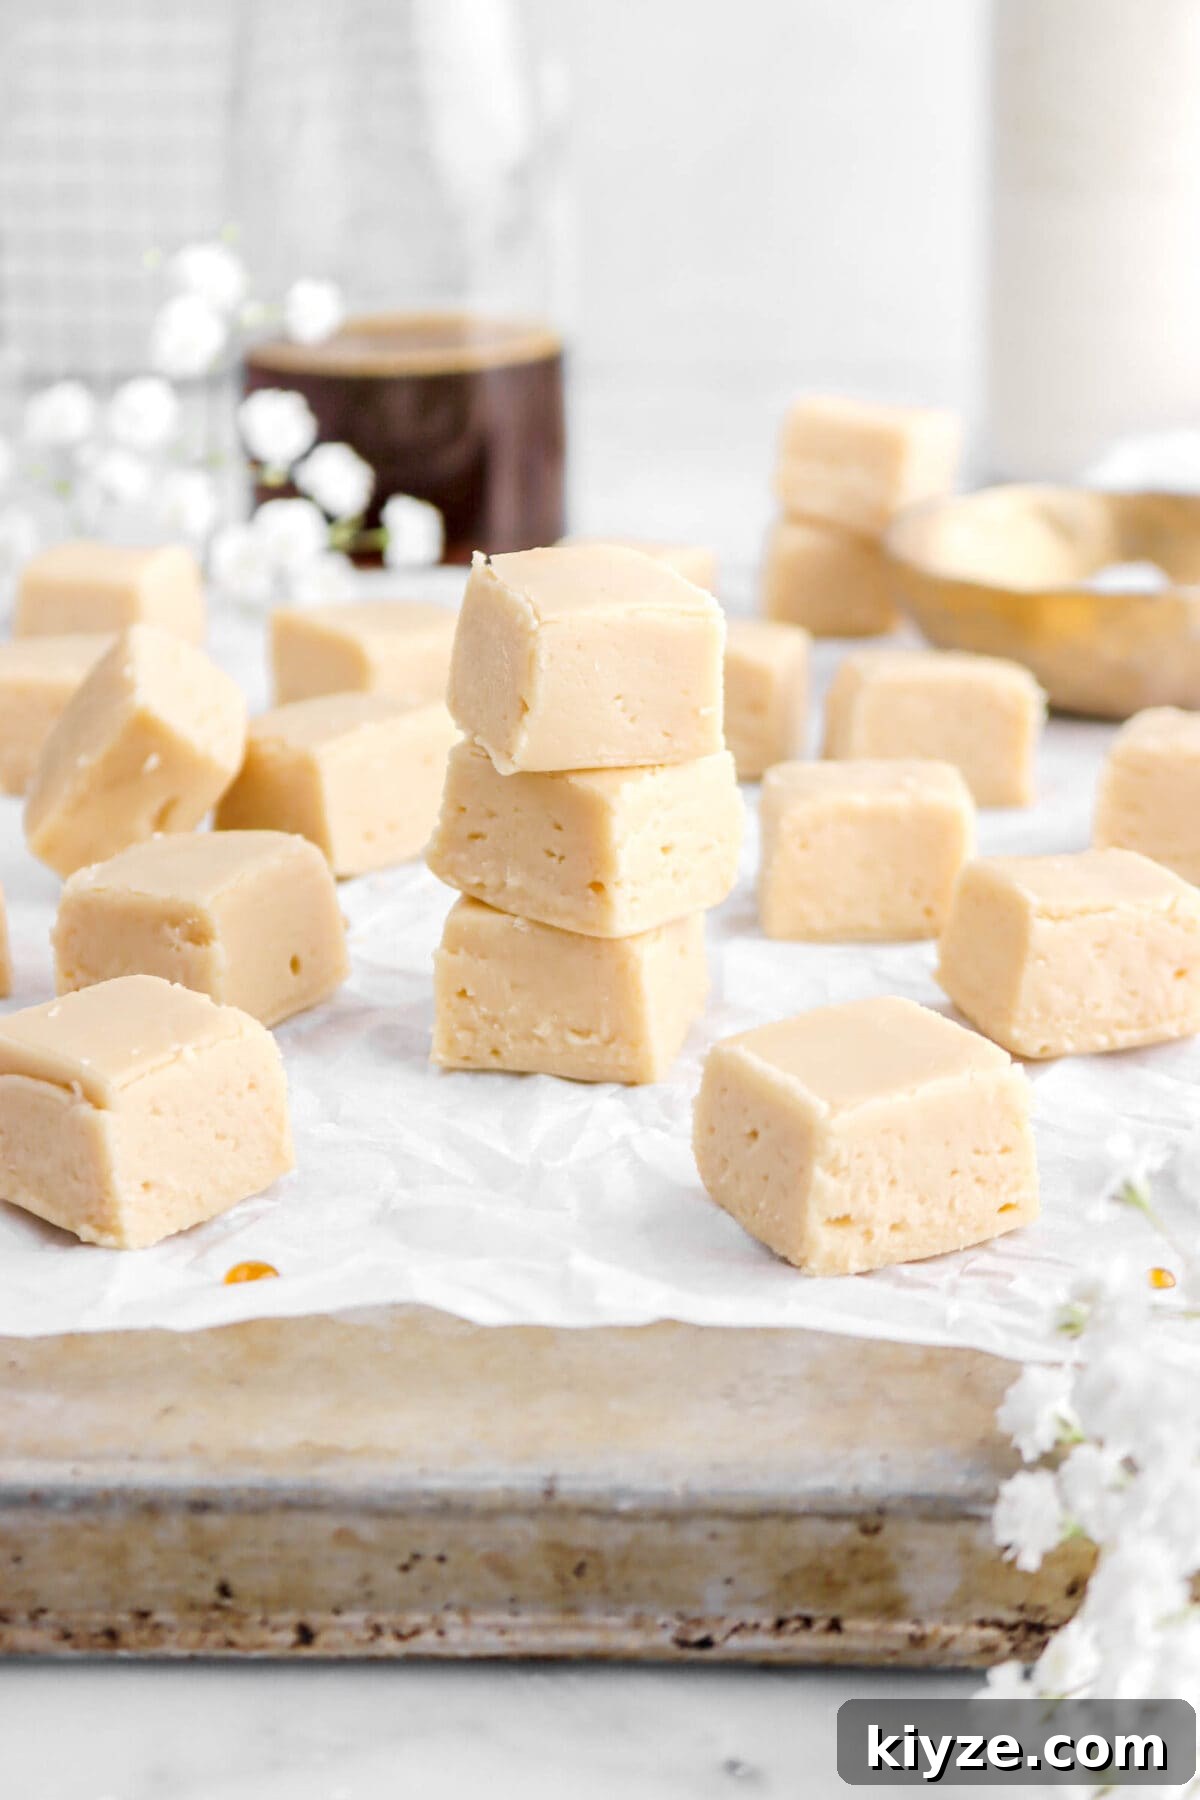
Extra sweet, silky-smooth Old Fashioned Maple Fudge — the classic holiday candy with a cozy fall twist. This version uses real maple syrup for deep, warming flavor. Evaporated milk, granulated sugar, maple syrup, and light corn syrup are gently cooked until they reach the proper temperature, then poured onto a cool surface with butter added. Once cooled slightly, the mixture is beaten with vanilla until it becomes matte and creamy. The result is a melt-in-your-mouth fudge that’s rich, comforting, and ideal for holiday boxes, neighbor gifts, or an indulgent treat at home.
About the Recipe
The days leading up to Thanksgiving can get hectic, and this year was no exception. Between brainstorming new ideas and making multiple grocery runs, my mom and I decided to slow down and make a simple, nostalgic candy. Last year our chocolate fudge was a hit, so we adapted that technique to highlight maple for an autumnal twist.
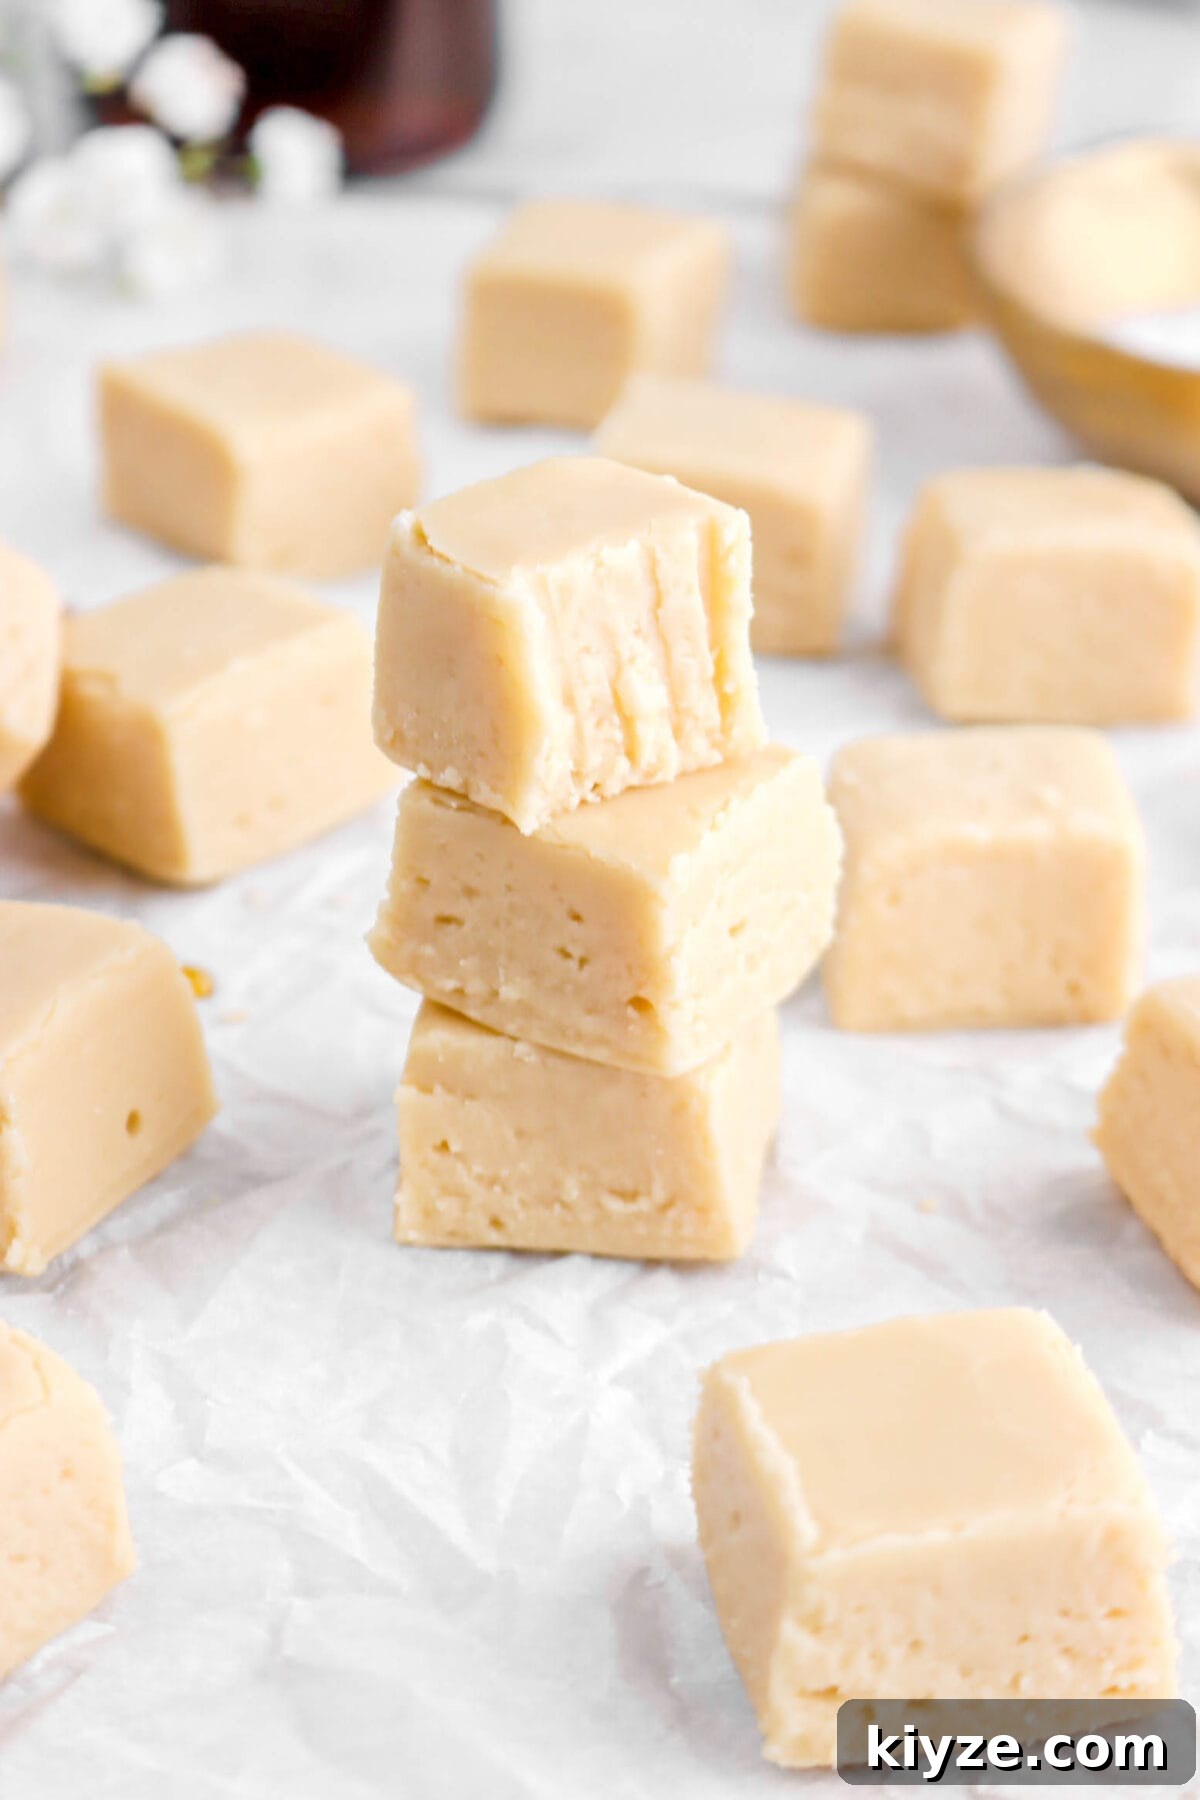
We tested this recipe a few times to perfect the cooking time and proportions. The first try finished too soft, while the second became a caramel instead of a true fudge. After a little adjustment and a final test using a stand mixer to beat the candy, we landed on the ideal texture: silky, firm enough to slice, and intensely maple-flavored. This method is straightforward and reliable once you follow the temperatures and steps closely.
Why You’ll Love This Maple Fudge
- Surprisingly easy to make with a little planning.
- Naturally gluten-free.
- Elegant and impressive for gifting.
- Silky-smooth texture and deep maple flavor.
- Only seven ingredients required.
- Perfect for holiday cookie trays and homemade presents.
Equipment Needed
- 8-inch square pan
- Marble pastry board or a cool sheet pan
- 4-quart saucepan
- Pastry brush
- Wooden spoon
- Candy or oil thermometer (recommended)
- Bench scraper or spatula
- Stand mixer with flat beater (or a sturdy hand mixer)
- Sharp knife for cutting
Ingredients
(Full ingredient amounts and step-by-step instructions are in the recipe card below.)
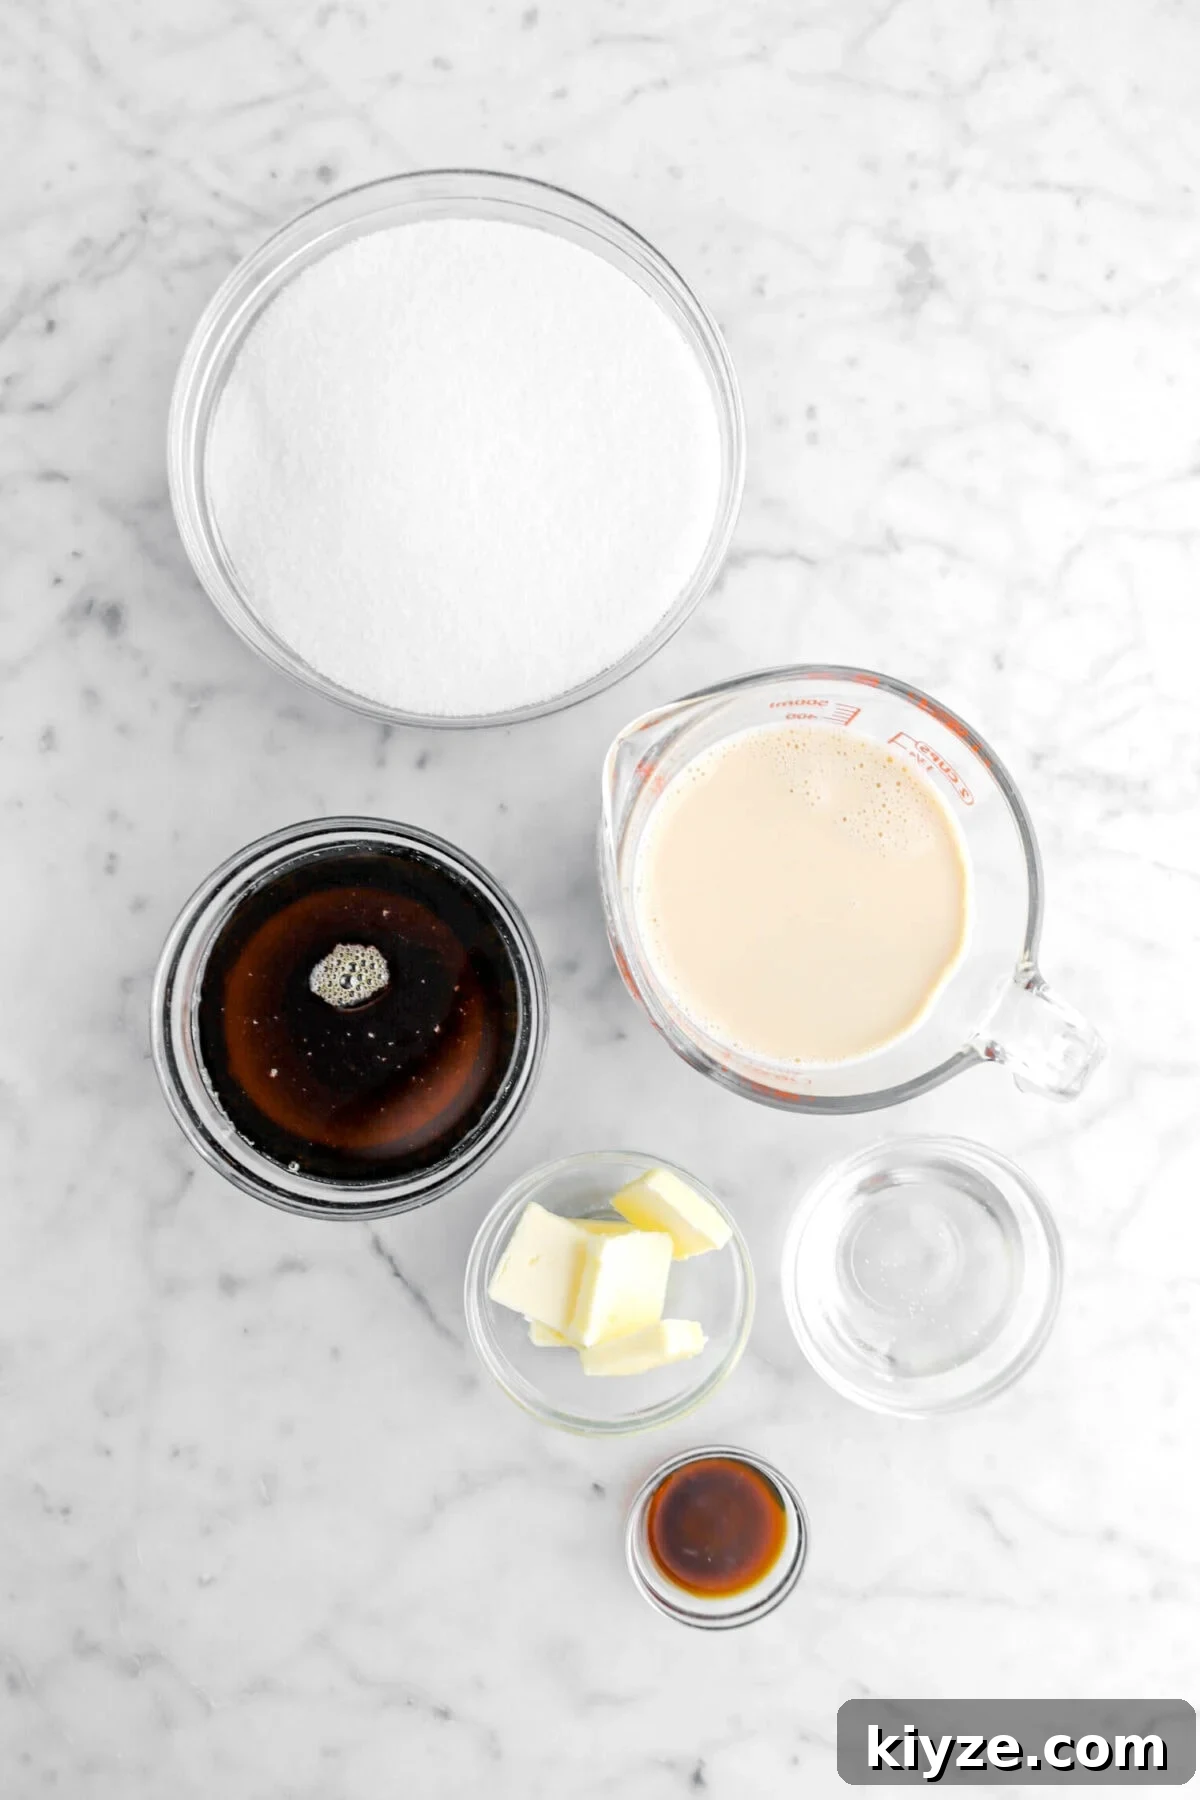
- Granulated sugar
- Evaporated milk (or heavy cream as a substitute)
- Dark robust maple syrup (Grade A, dark)
- Light corn syrup
- Salted butter (chopped)
- Vanilla extract
- Unsalted butter (for lining pan)
How to Make Maple Fudge
Step 1: Prepare and cook
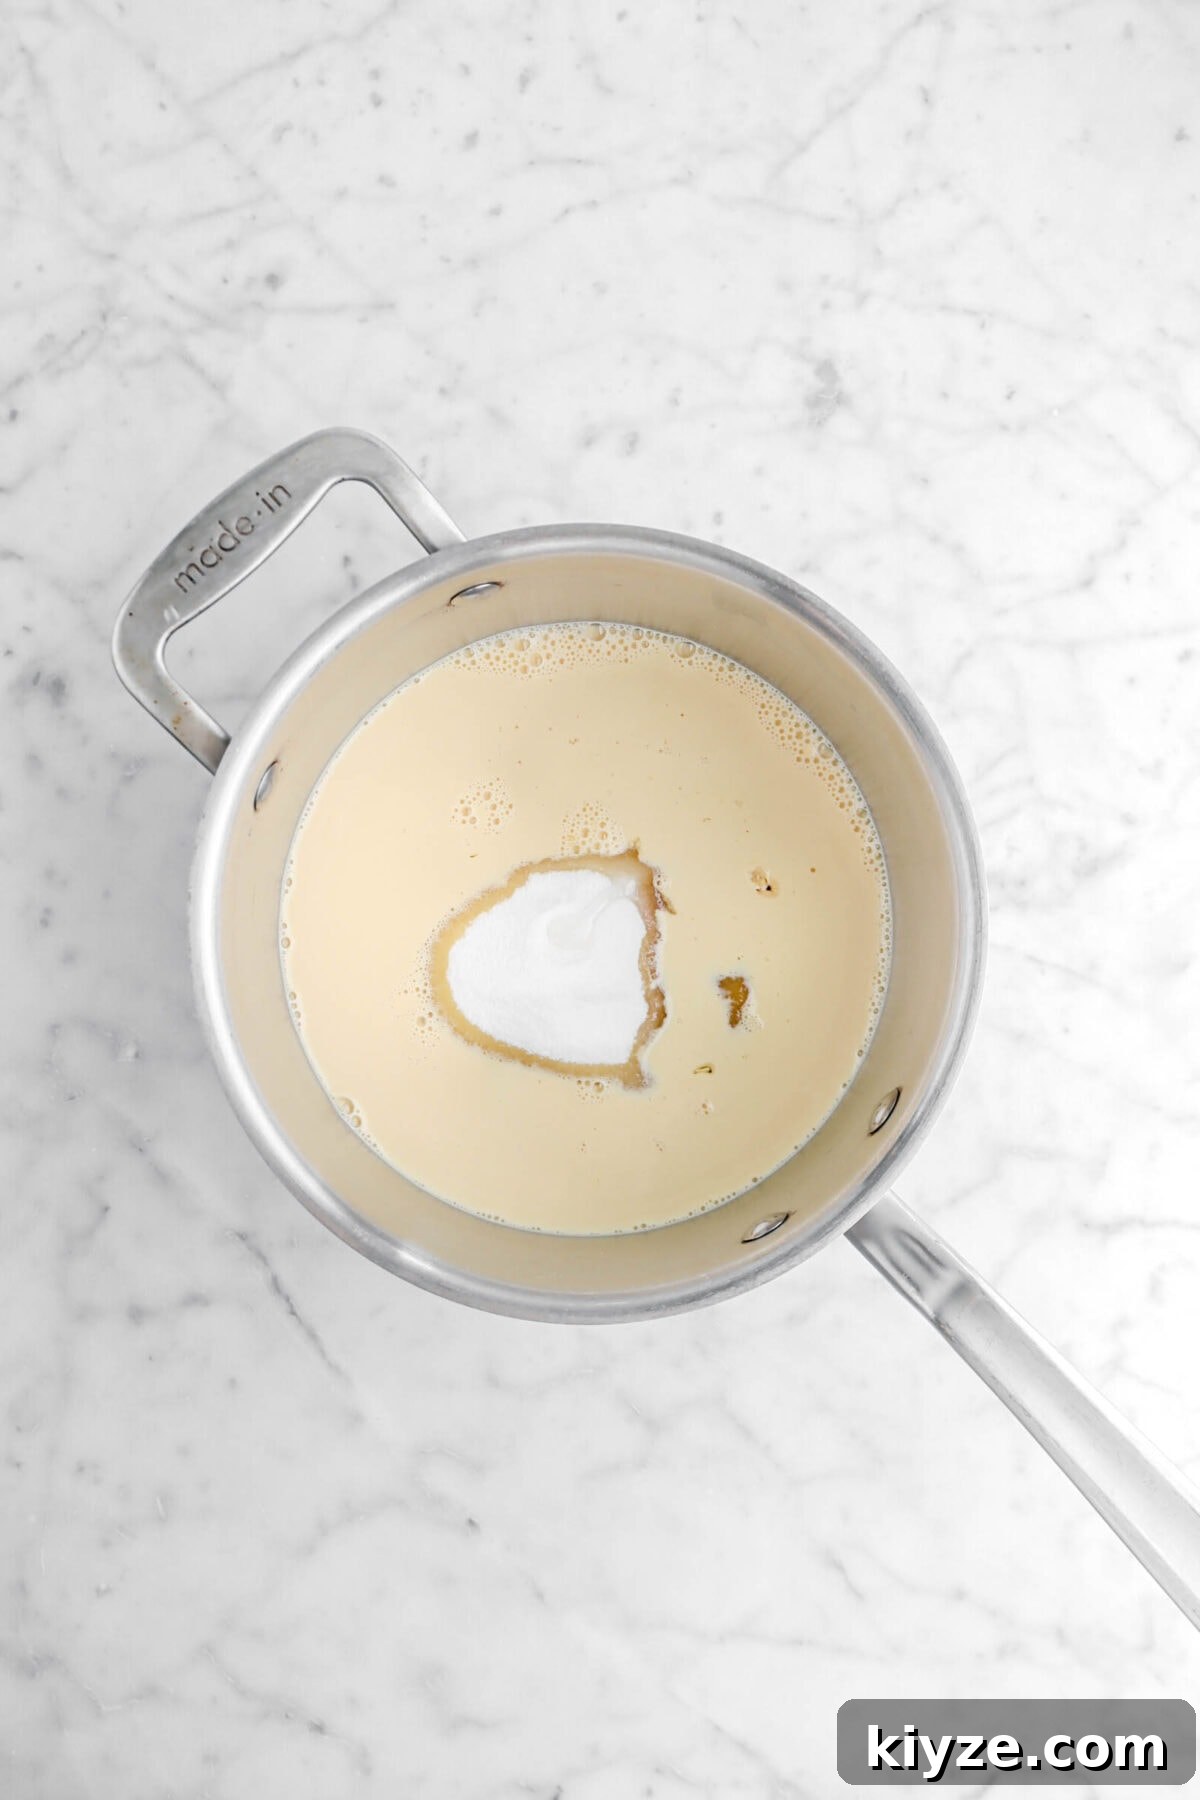
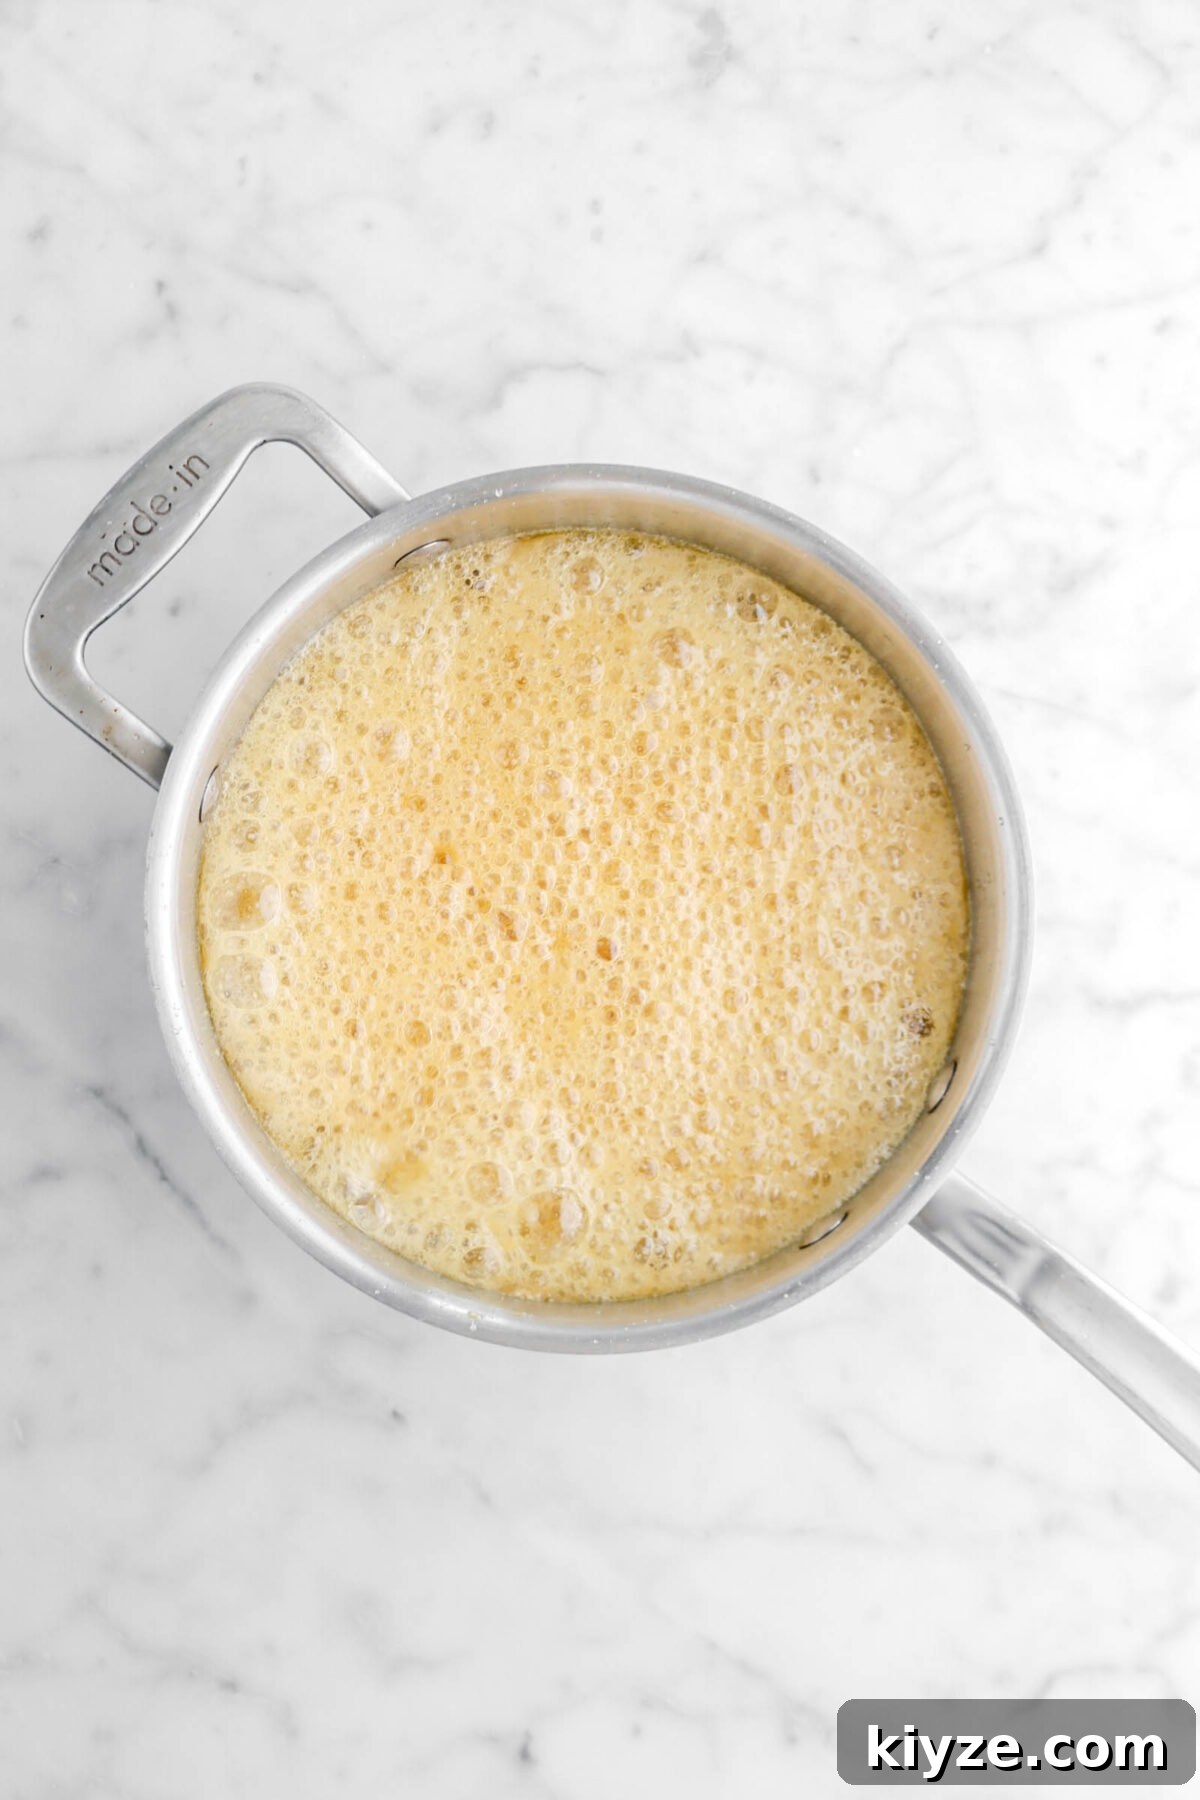
Line an 8-inch square pan with parchment and spread a thin layer of unsalted butter over the paper. Sprinkle a marble board or sheet pan with a few drops of water. In a 4-quart saucepan, combine granulated sugar, evaporated milk, maple syrup, and corn syrup. Place over medium-low heat and stir until the sugar dissolves, about 5–6 minutes. Stop stirring, and use a wet pastry brush to wash down any sugar crystals on the sides of the pan. Let the mixture cook, without stirring, until it reaches 238°F (soft-ball stage).
Step 2: Pour and cool
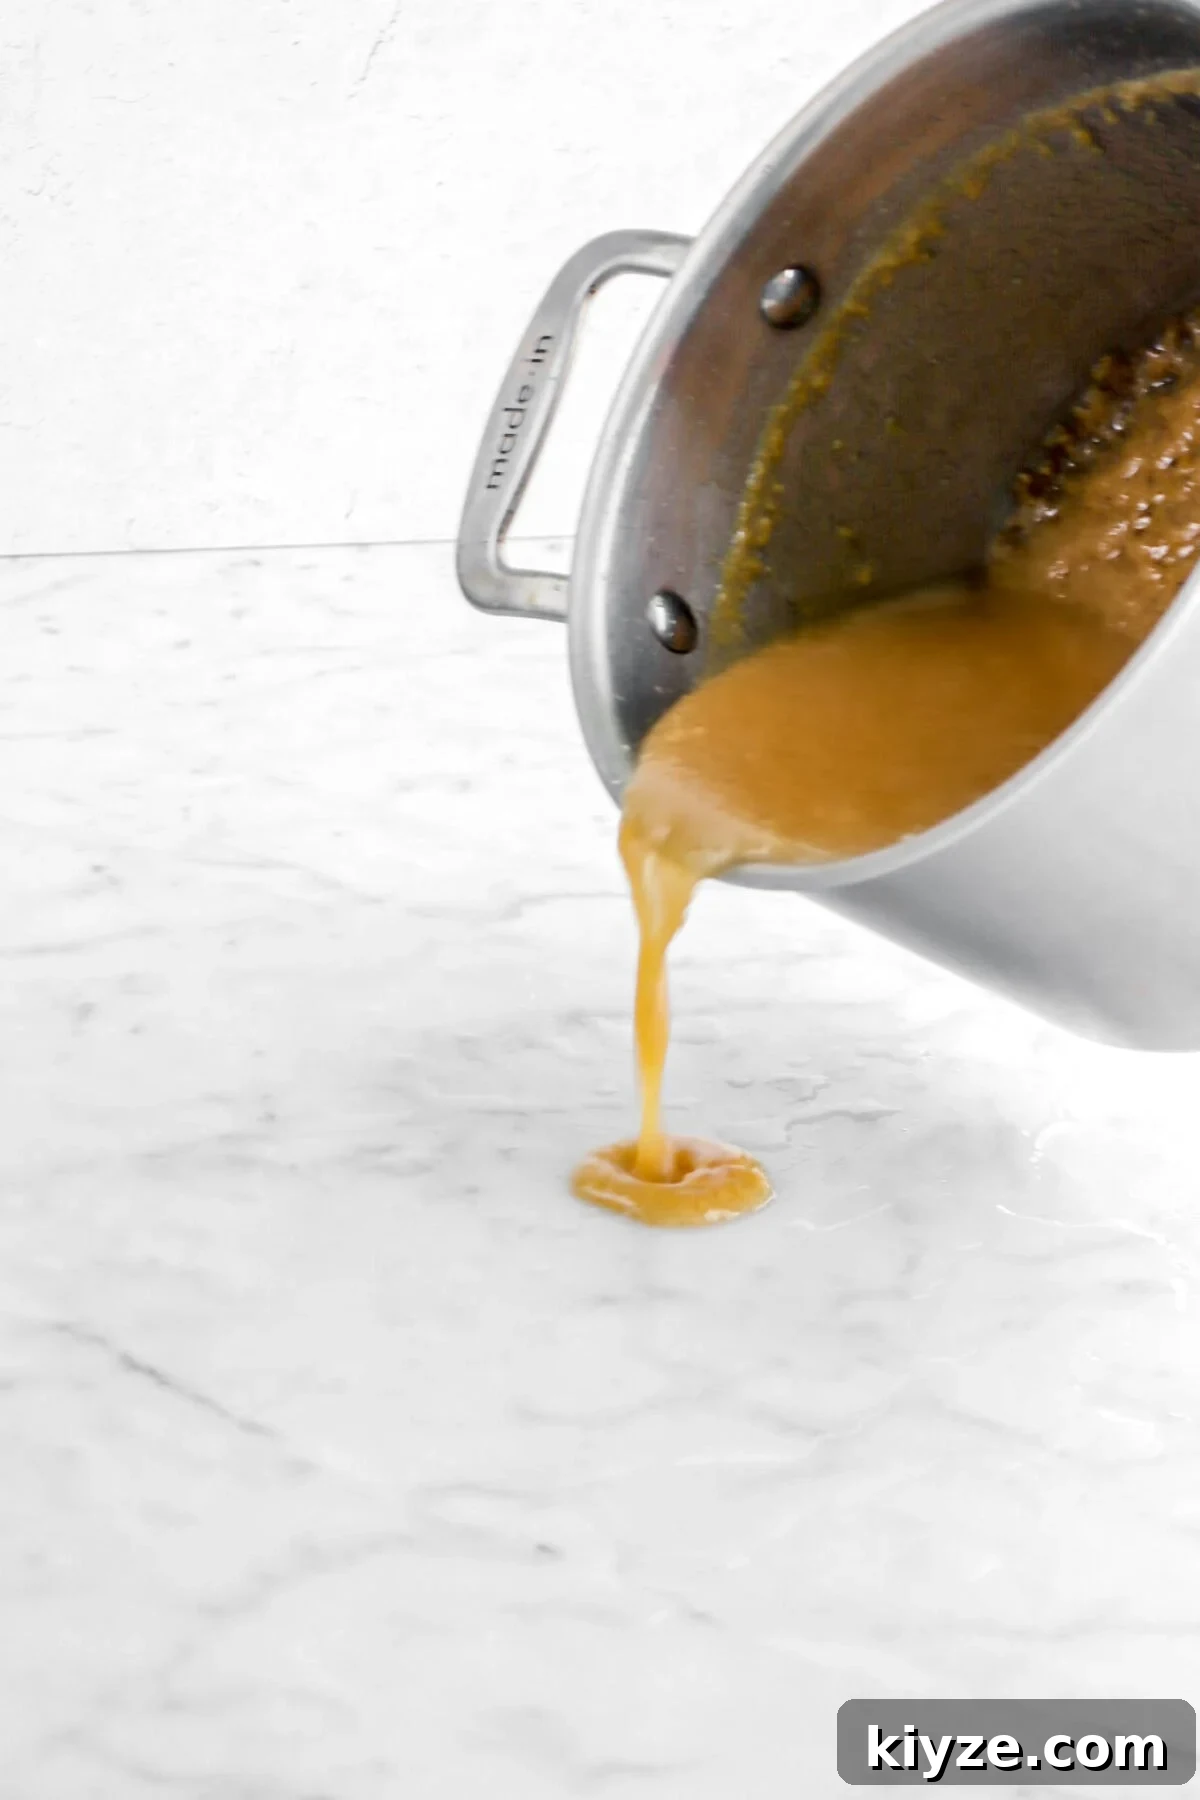
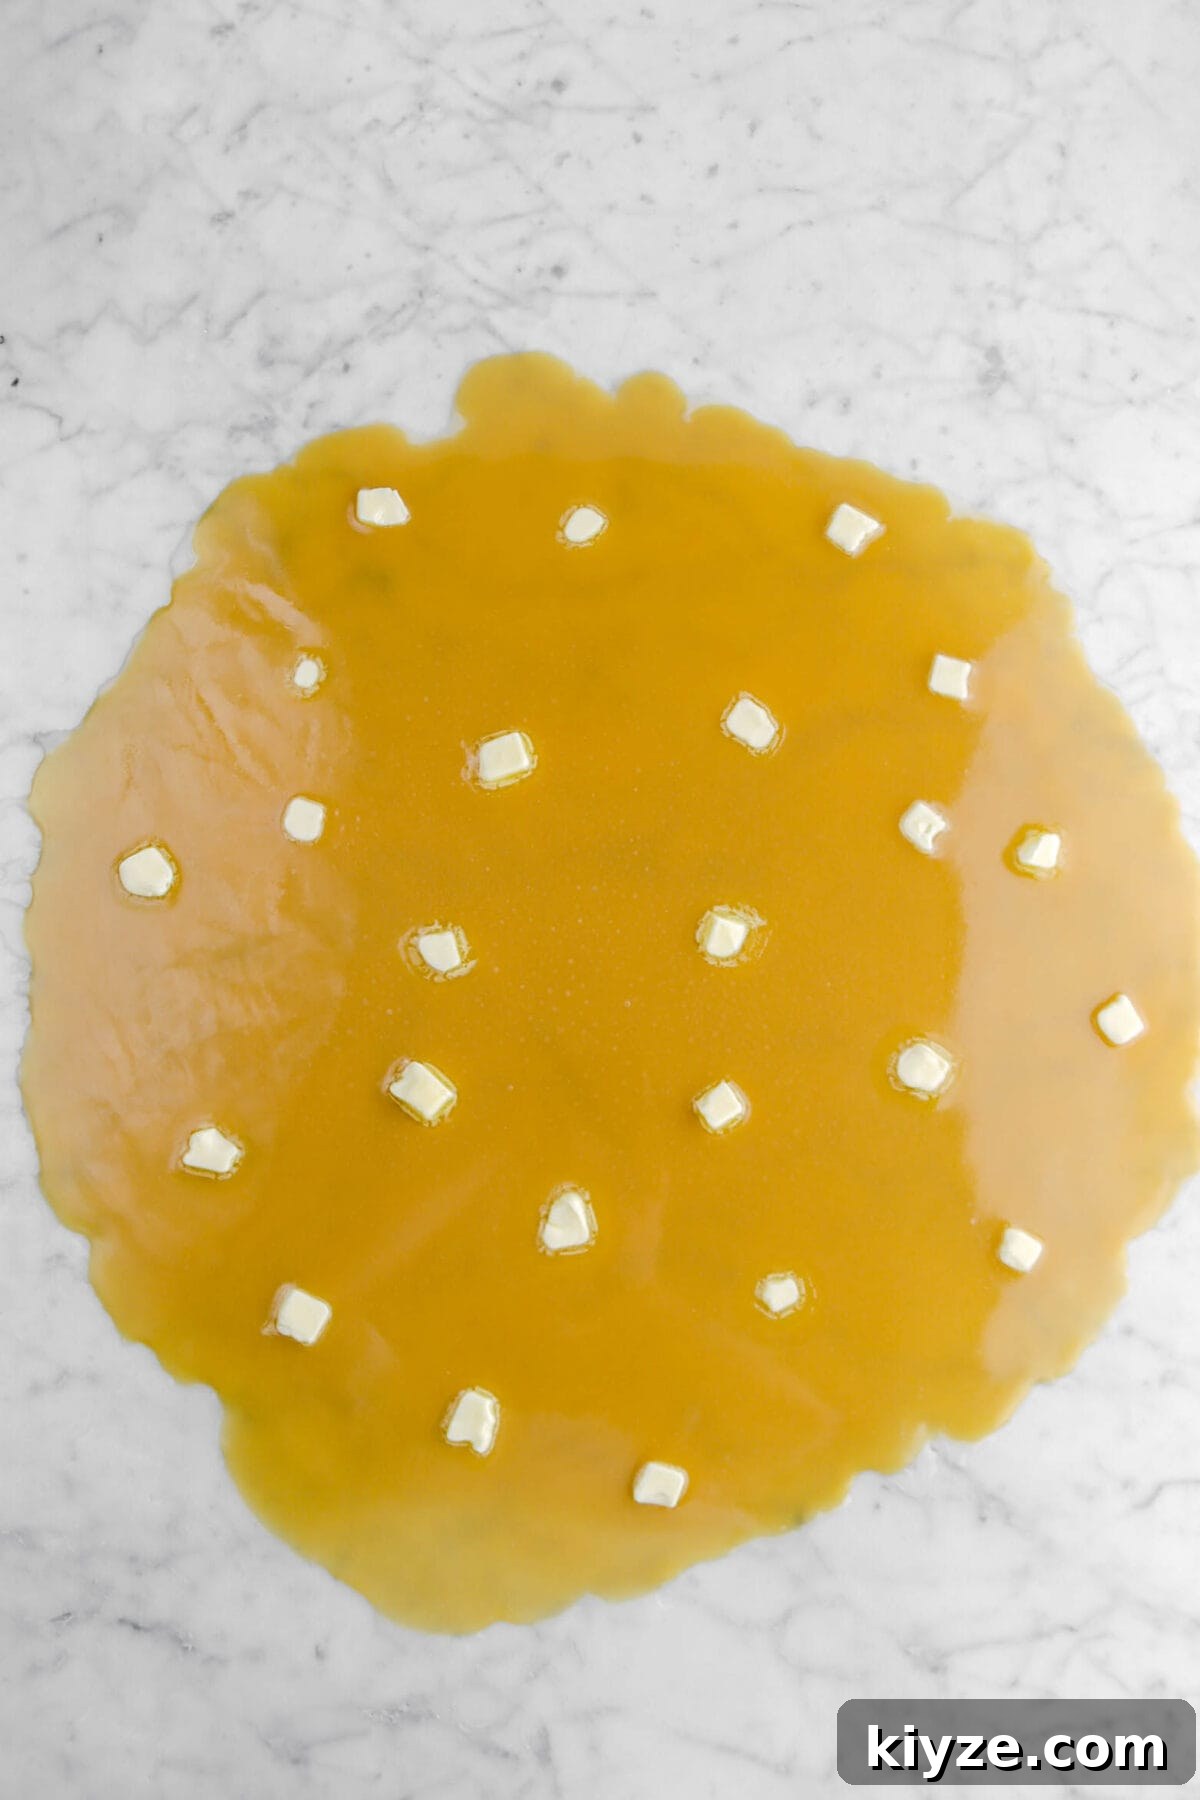
Immediately pour the hot mixture onto the prepared marble board or wet sheet pan. Do not scrape the pot — leave any residue behind. Dot the hot candy with chopped salted butter and allow it to cool undisturbed to around 110°F.
Step 3: Beat until creamy
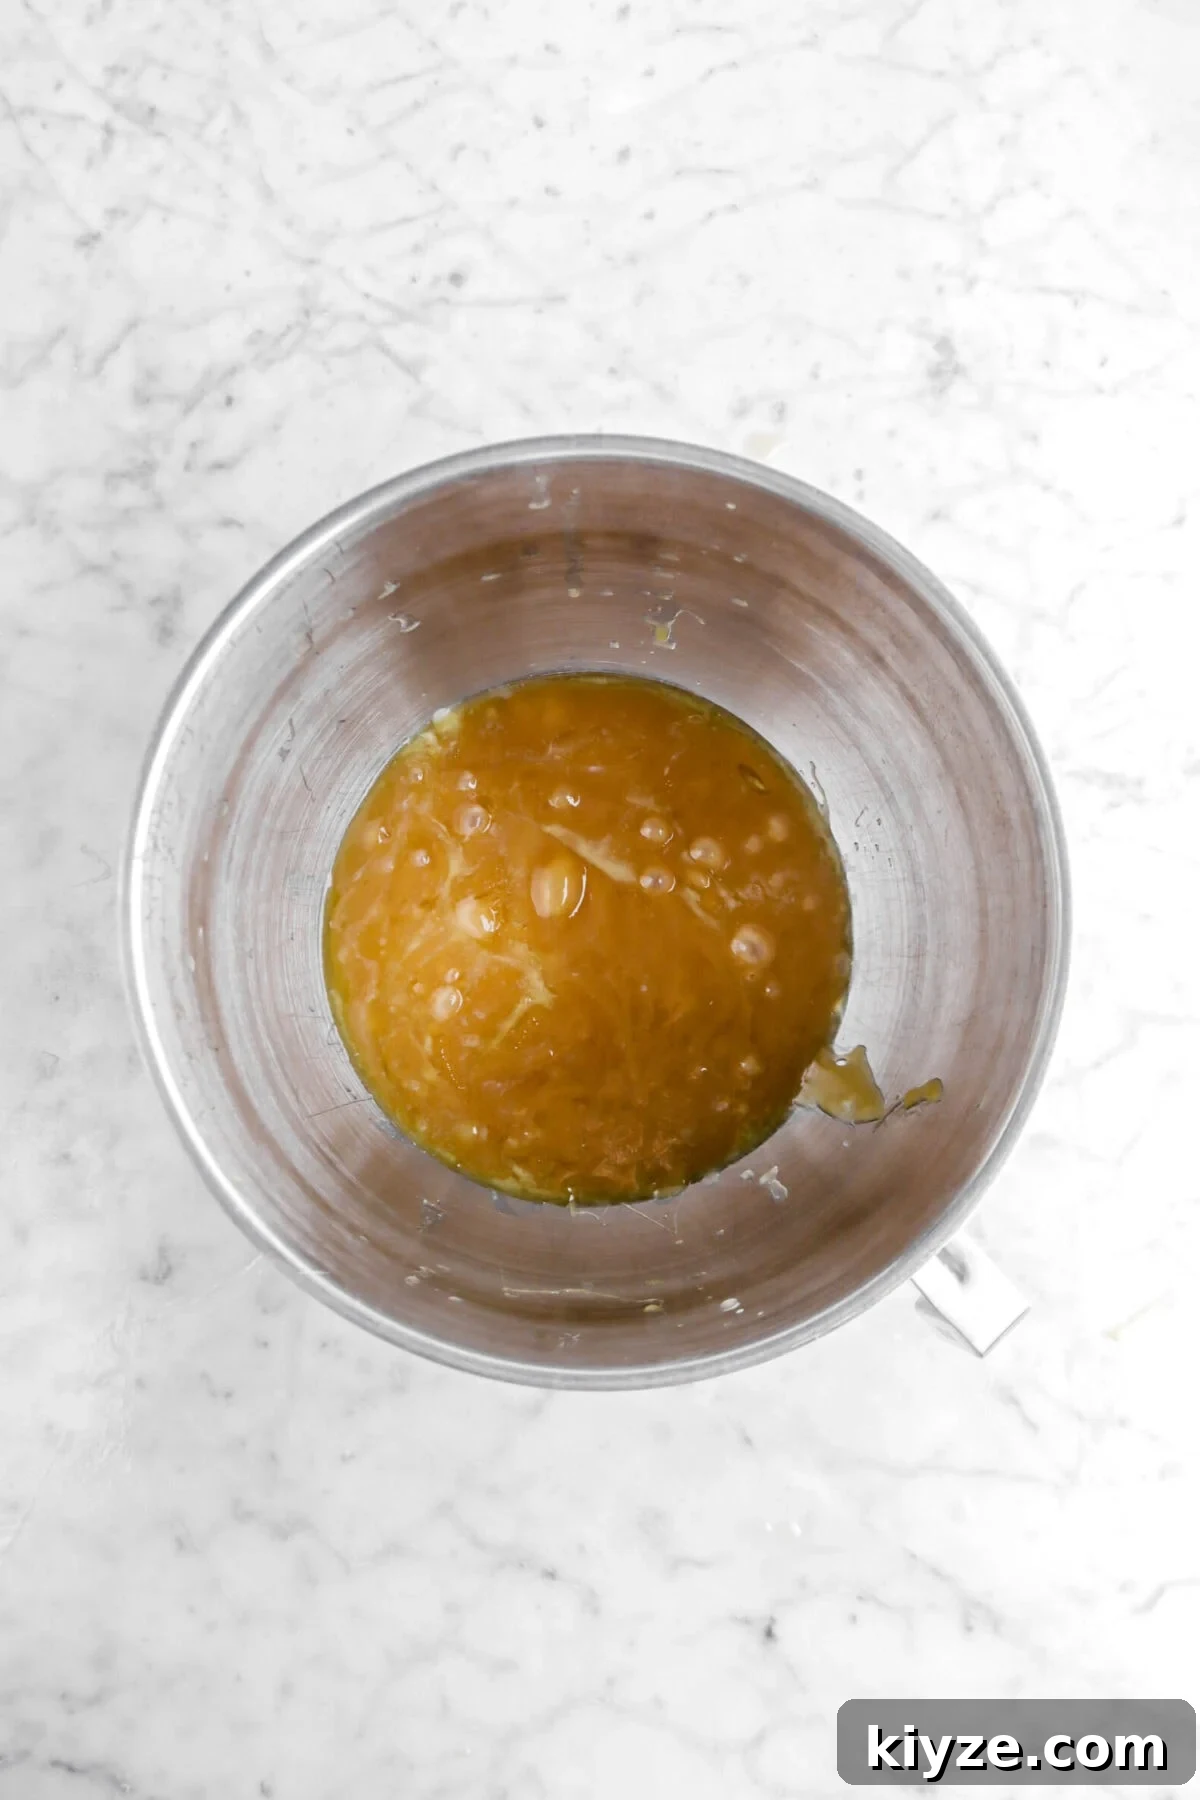
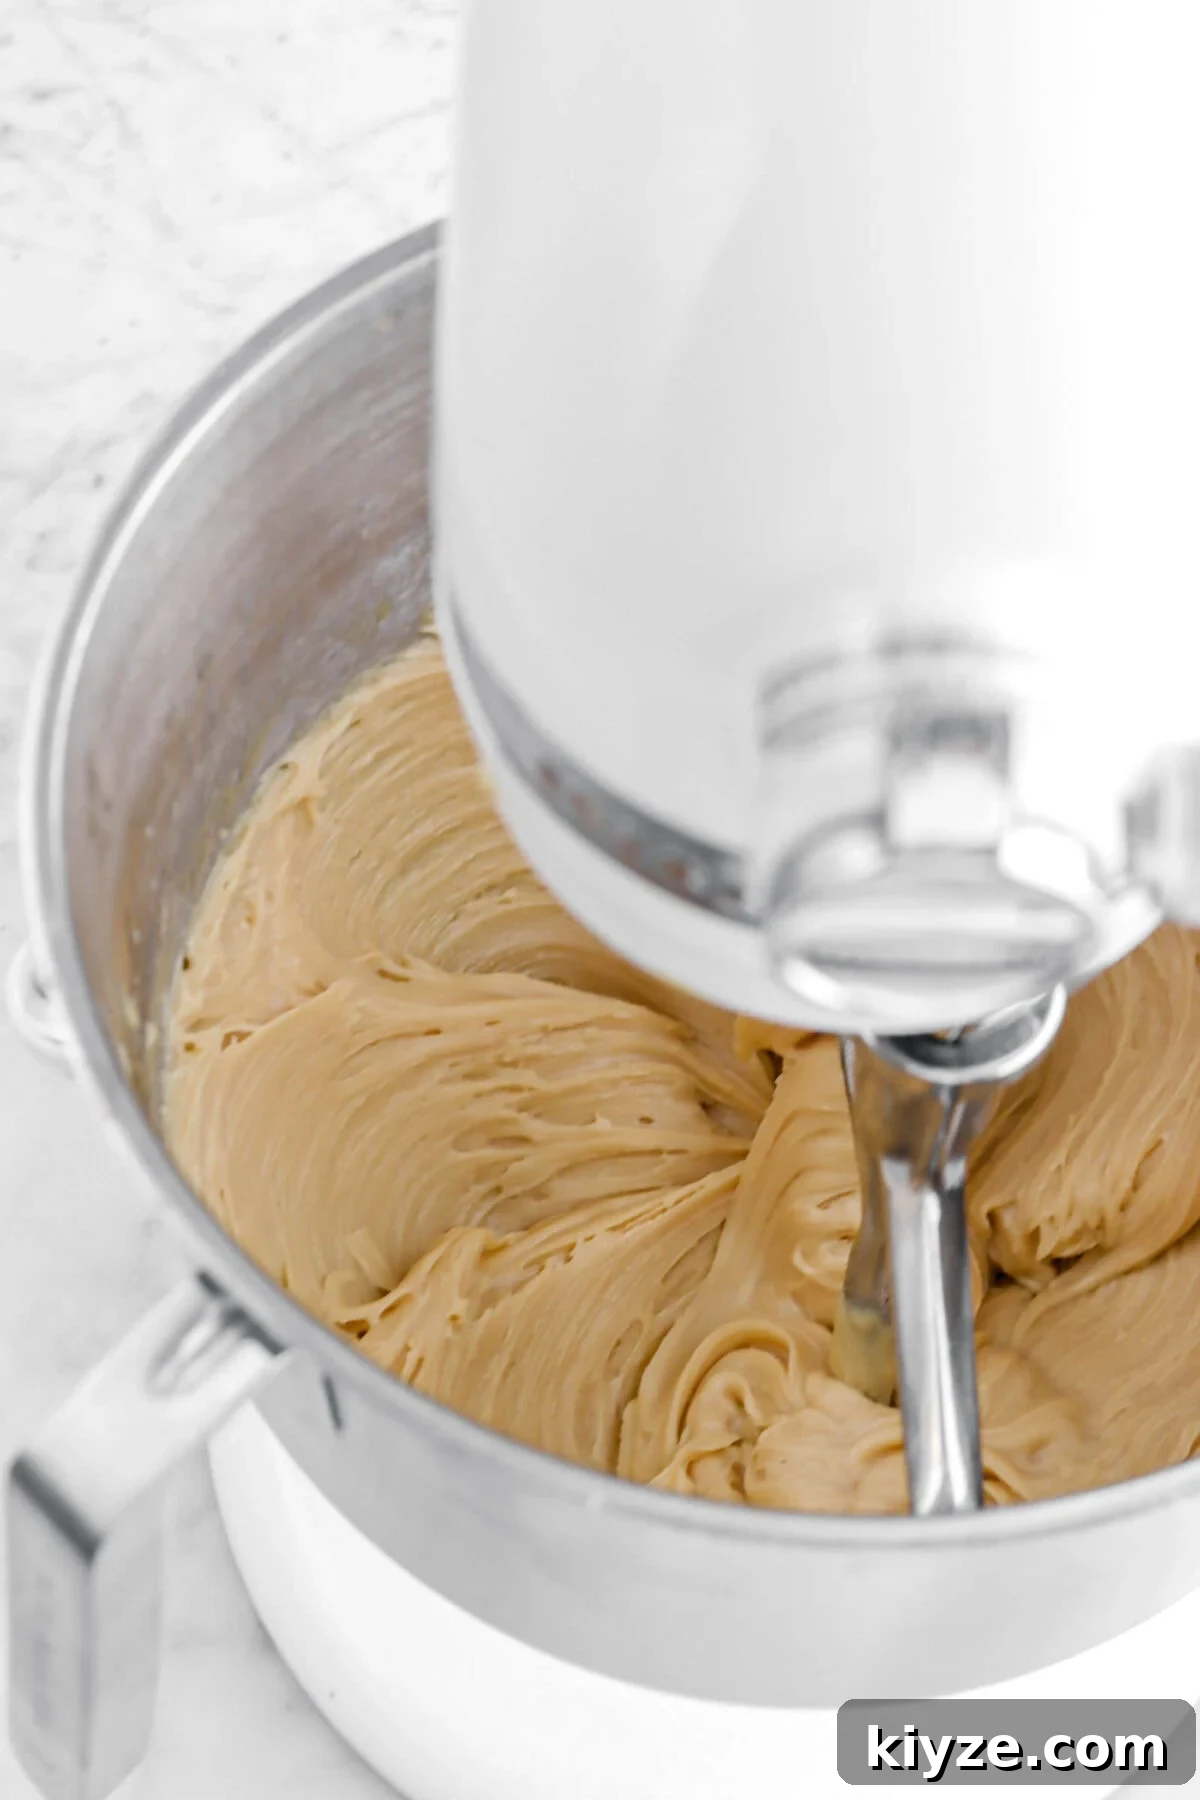
Use a bench scraper or spatula to transfer the cooled candy into the bowl of a stand mixer fitted with the paddle attachment. Add vanilla, then beat on high until the mixture thickens and loses its glossy sheen, about 10–12 minutes. The mixture should become thick, matte, and spreadable.
Step 4: Set and cut
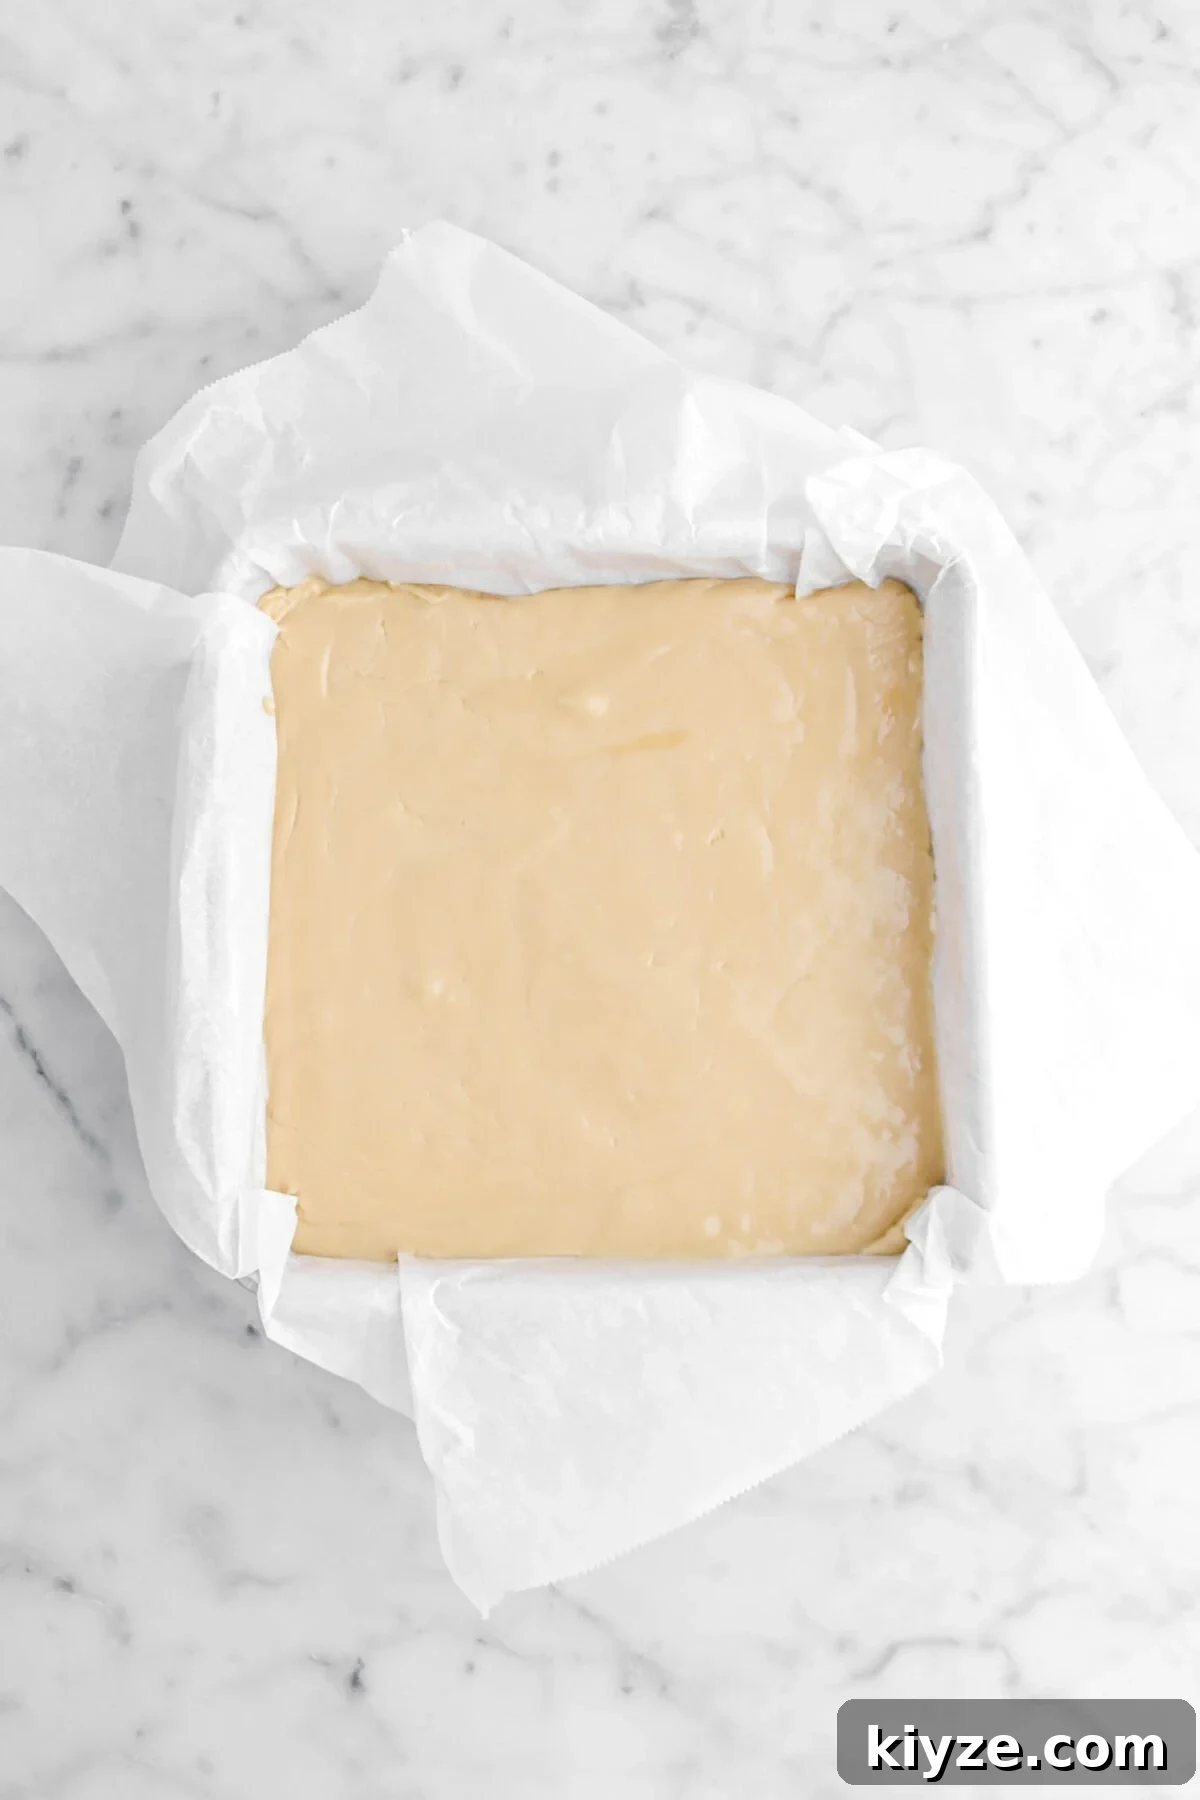
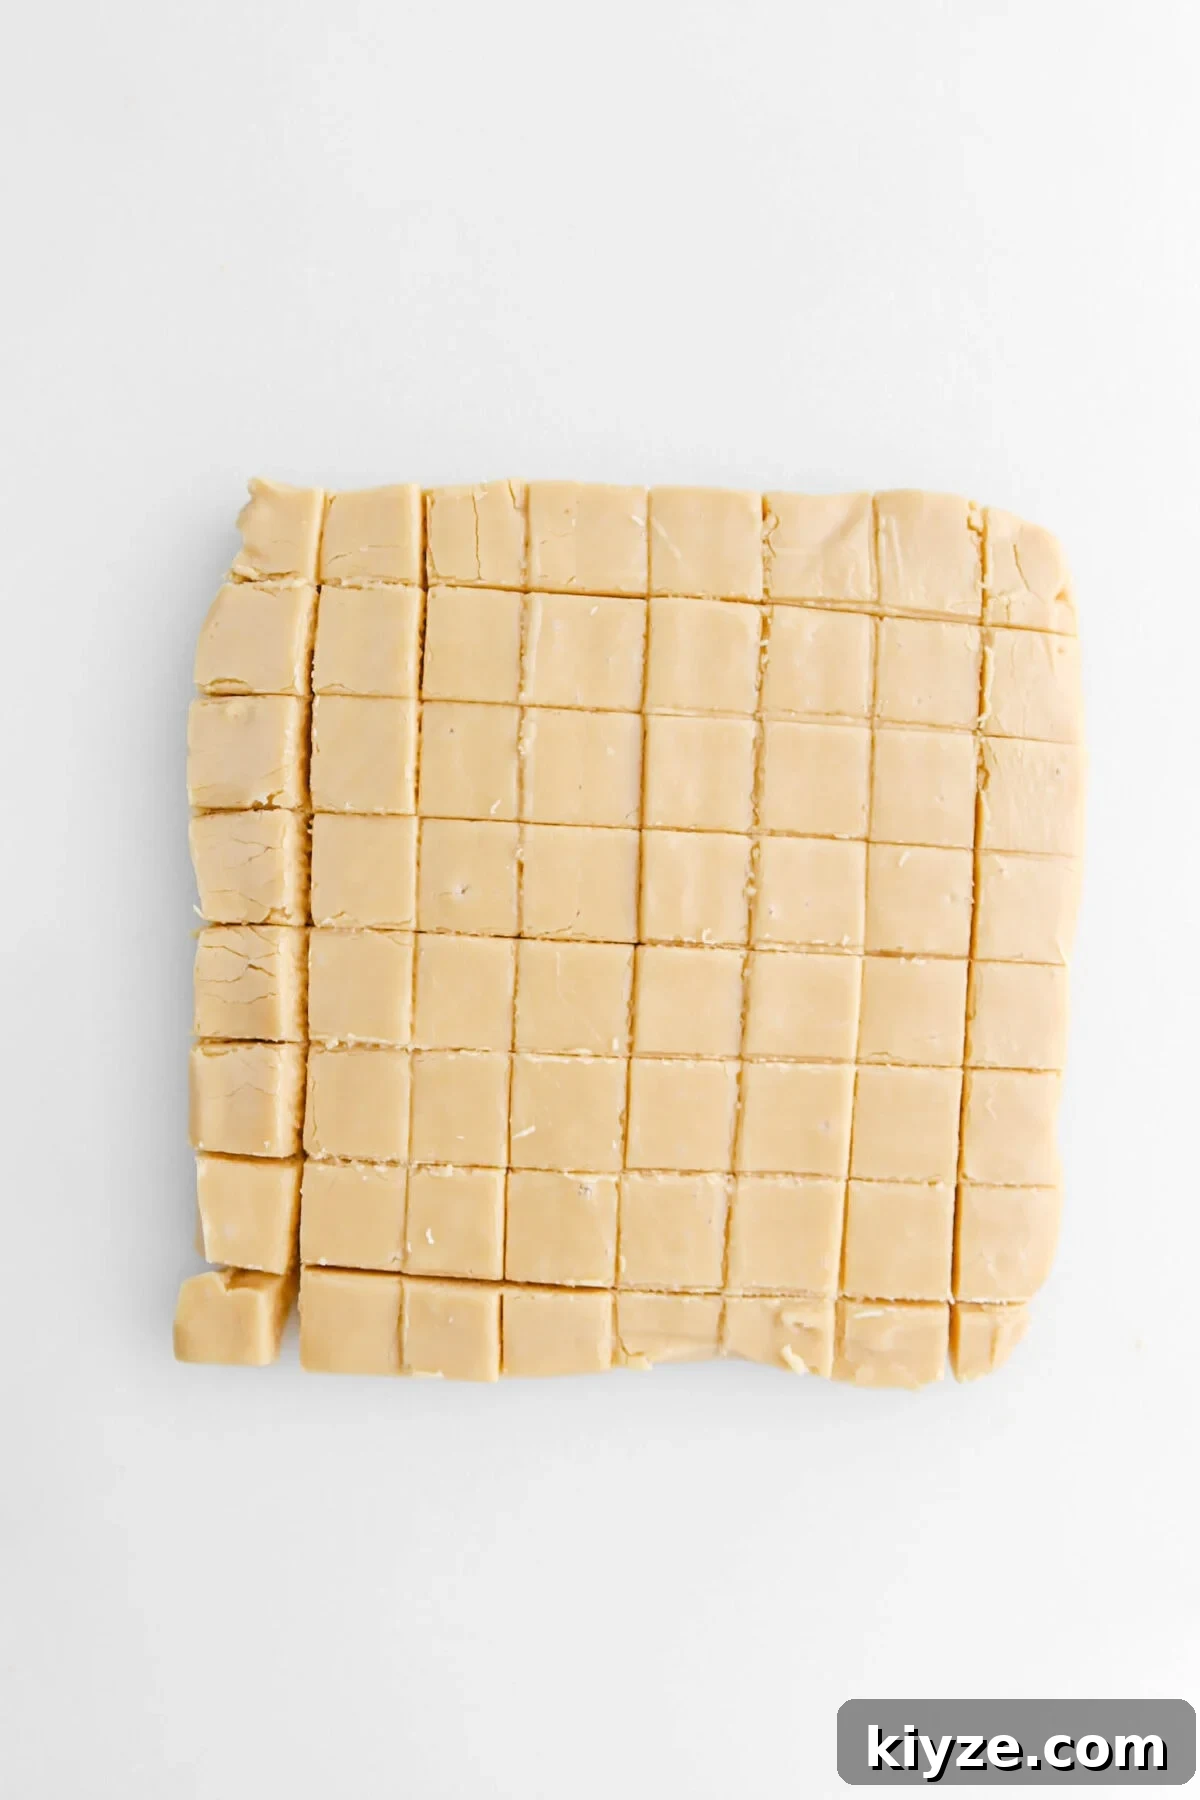
Spoon the beaten fudge into the prepared pan and smooth the top. Let the fudge cool completely at room temperature before lifting it from the pan and slicing into pieces with a sharp knife.
Maple Fudge FAQs
Which maple syrup is best?
Use a dark robust Grade A maple syrup for the richest flavor. Lighter syrups won’t give the same depth of maple taste.
Why didn’t my fudge set?
If the fudge remains too soft, it may not have reached the correct temperature, or it might not have been beaten sufficiently. Accurate temperature and proper beating are essential for a firm, creamy fudge.
Why is my fudge hard?
Overcooking causes a hard, brittle texture. If it’s slightly firm due to cooling, storing at room temperature in a sealed container can soften it a bit, but often overcooked candy must be remade.
What causes grainy fudge?
Graininess comes from sugar crystals forming. This is usually due to incorrect temperatures or over-mixing at the wrong stage. Brushing down the pan sides and avoiding agitation while the mixture cooks helps prevent crystallization.
Can I speed up setting in the refrigerator or freezer?
We don’t recommend chilling the fudge to speed up setting. Rapid cooling can cause uneven texture. Let it set at room temperature for the best, even finish.
Mix-in and Topping Ideas
Add texture or contrast with a few favorite mix-ins or toppings:
- Flaked sea salt — sprinkle on top for a sweet-and-salty finish.
- Chopped nuts or dried fruit — fold in while beating or press on top before it sets.
- Mini chocolate chips — stir in during the final beating for chocolate-mapped bites.
- Mini marshmallows — fold in gently for a soft, nostalgic touch.
How to Store
Store maple fudge in an airtight container at room temperature for 1–2 weeks. Place small pieces of parchment between layers to prevent sticking. You can freeze the fudge in airtight packaging for up to three months; thaw at room temperature before serving.
Looking for similar ideas? Try chocolate fudge, maple crème brûlée, peppermint bark, or coconut cream–filled chocolates for more seasonal treats.
Expert Tips
- Calibrate your thermometer before you begin for accurate readings.
- Temperature is critical; small deviations can change the final texture.
- Use dark robust maple syrup for a pronounced maple profile.
- If you don’t have evaporated milk, heavy cream can be substituted.
- A marble board cools the candy faster; a sheet pan will work but may take longer.
- If you don’t have a bench scraper, a sturdy spatula will transfer the candy to the mixer.
When you make this Old Fashioned Maple Fudge, leave a comment and share how it turned out. We love hearing your tips and variations!
Old Fashioned Maple Fudge
Silky smooth, extra sweet, and full of maple flavor — a classic holiday treat made with maple syrup.
Recipe Details
Prep Time: 15 mins | Cook Time: 20 mins | Total Time: 35 mins | Yield: about 64 small pieces
Ingredients
- 3 cups granulated sugar
- 1½ cups evaporated milk (or heavy cream)
- ¾ cup dark robust maple syrup
- 3 tablespoons light corn syrup
- 3 tablespoons salted butter, chopped
- 2 teaspoons vanilla extract
- 1 tablespoon unsalted butter (for pan)
Instructions
- Line an 8-inch square pan with parchment paper and spread the pan with unsalted butter. Set aside.
- Sprinkle a marble board or sheet pan with water.
- In a 4-quart saucepan, combine the sugar, evaporated milk, maple syrup, and corn syrup. Place over medium-low heat.
- Cook and stir until the sugar dissolves, about 5–6 minutes. Then stop stirring. Brush down the sides of the pan with a wet pastry brush to remove crystals.
- Allow the mixture to cook without stirring until it reaches 238°F (soft-ball stage).
- Pour the hot mixture onto the prepared marble board or wet sheet pan. Do not scrape the pan. Dot with the chopped salted butter and let cool to about 110°F.
- Use a bench scraper or spatula to transfer the cooled candy into the bowl of a stand mixer fitted with the paddle. Add vanilla.
- Beat on high until the candy thickens and loses its gloss, about 10–12 minutes. The texture should be matte and spreadable.
- Spoon the fudge into the prepared pan, spread evenly, and allow to cool completely at room temperature before cutting into pieces.
Notes & Tips
- Calibrate your thermometer for best results.
- Accurate temperatures and proper beating are essential to avoid grainy or hard fudge.
- If you don’t have marble, a sheet pan works but cools more slowly.
- Store in an airtight container at room temperature for 1–2 weeks, or freeze up to 3 months.
– Still Hungry? –
Try other favorite treats like peanut butter balls, chocolate bark, or a giant peanut butter cup for more homemade candy ideas.
 My Favorite Peanut Butter Balls
- Cookies and Scream Halloween Chocolate Bark
- Giant Peanut Butter Cup
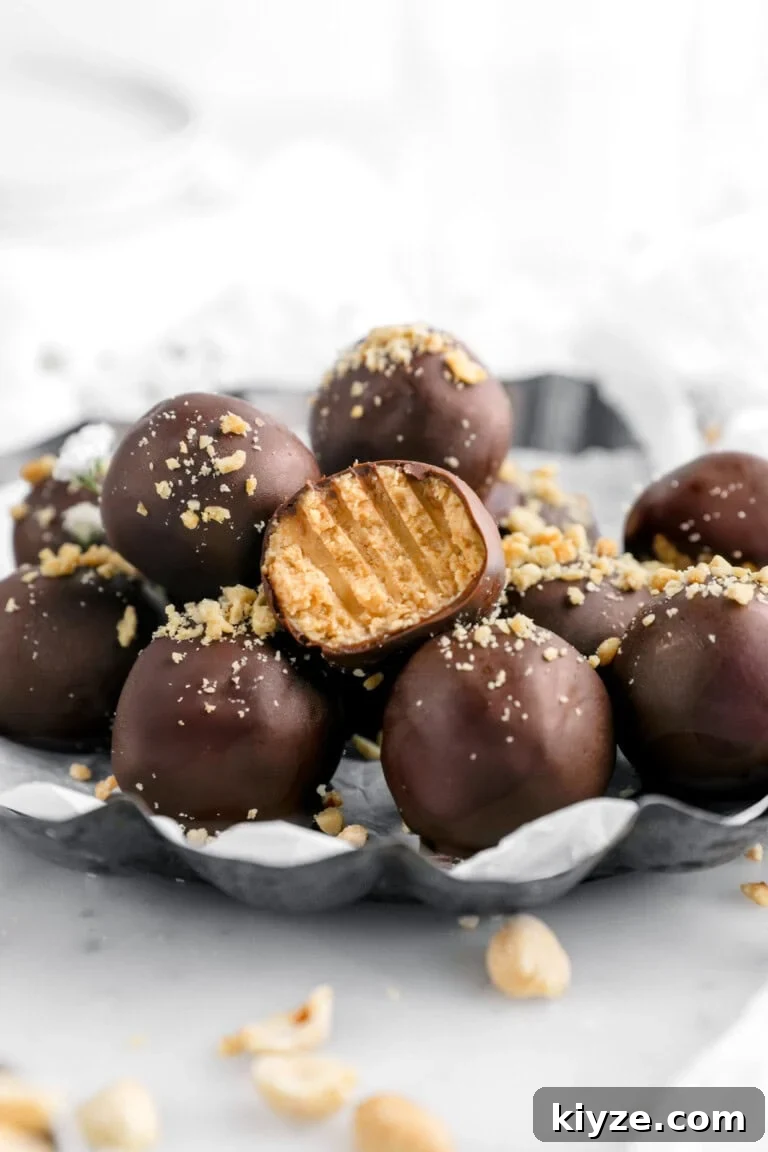 My Favorite Peanut Butter Balls
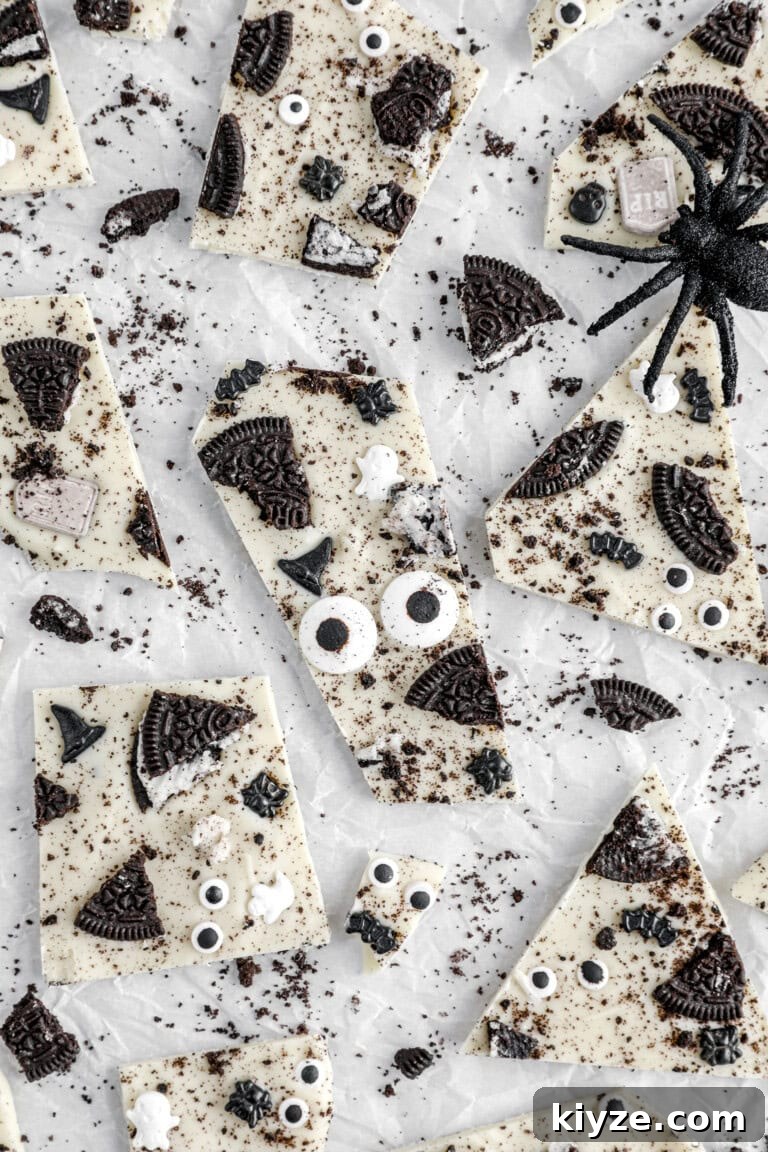 Cookies and Scream Halloween Chocolate Bark
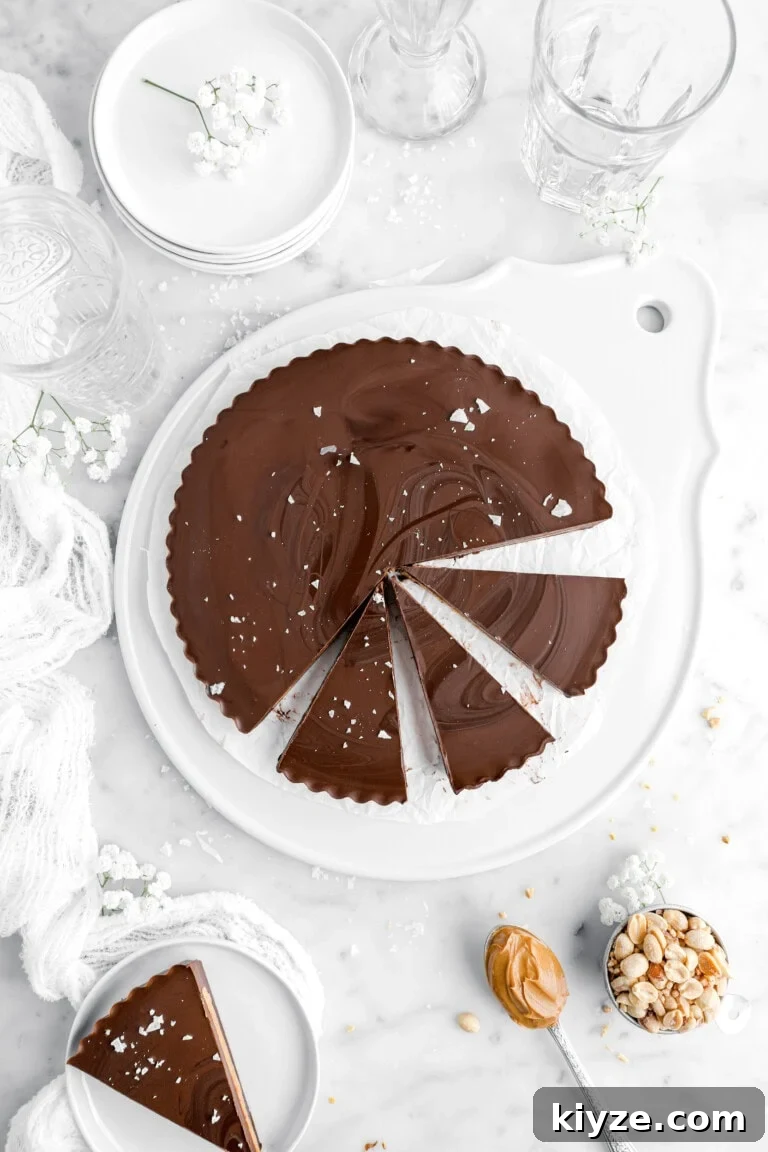 Giant Peanut Butter Cup