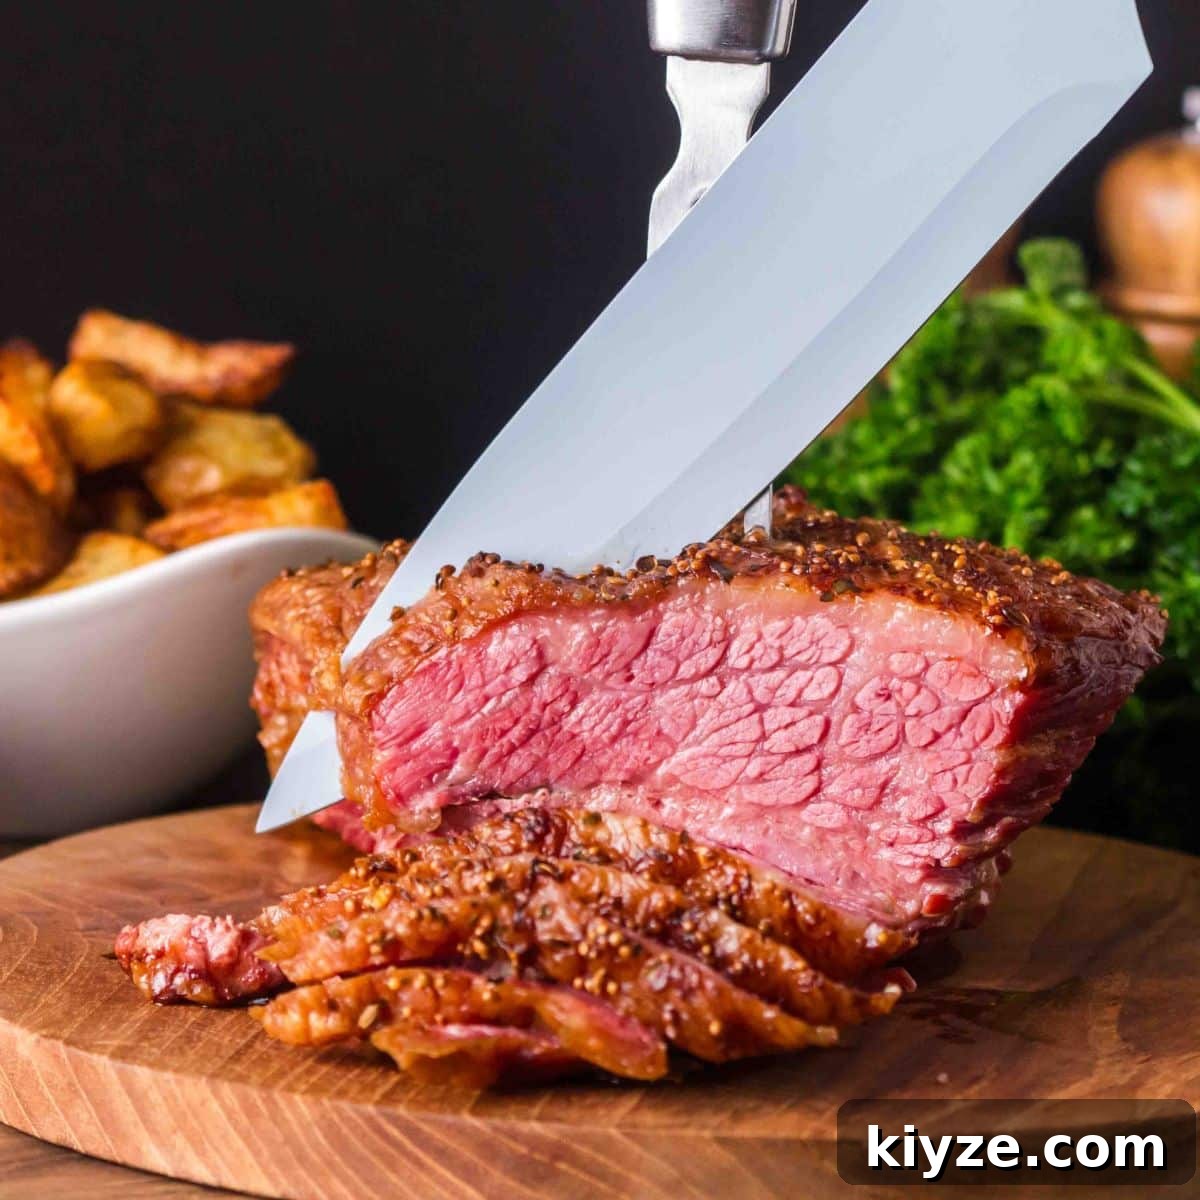
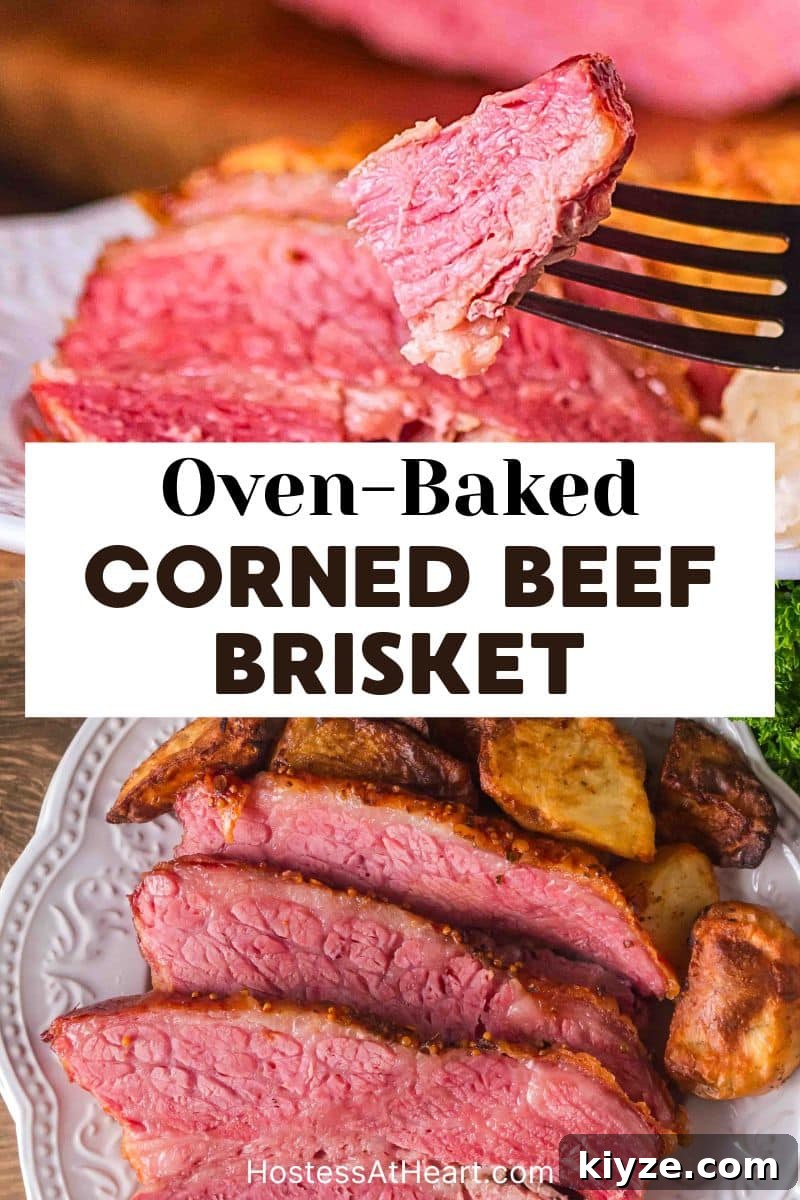
This baked corned beef recipe is the simplest way to get tender, flavorful meat for your St. Patrick’s Day dinner. Season with the included spice packet, bake uncovered for the final hour, and enjoy juicy brisket with lightly crisped edges—no boiling, no fuss, consistently great results.
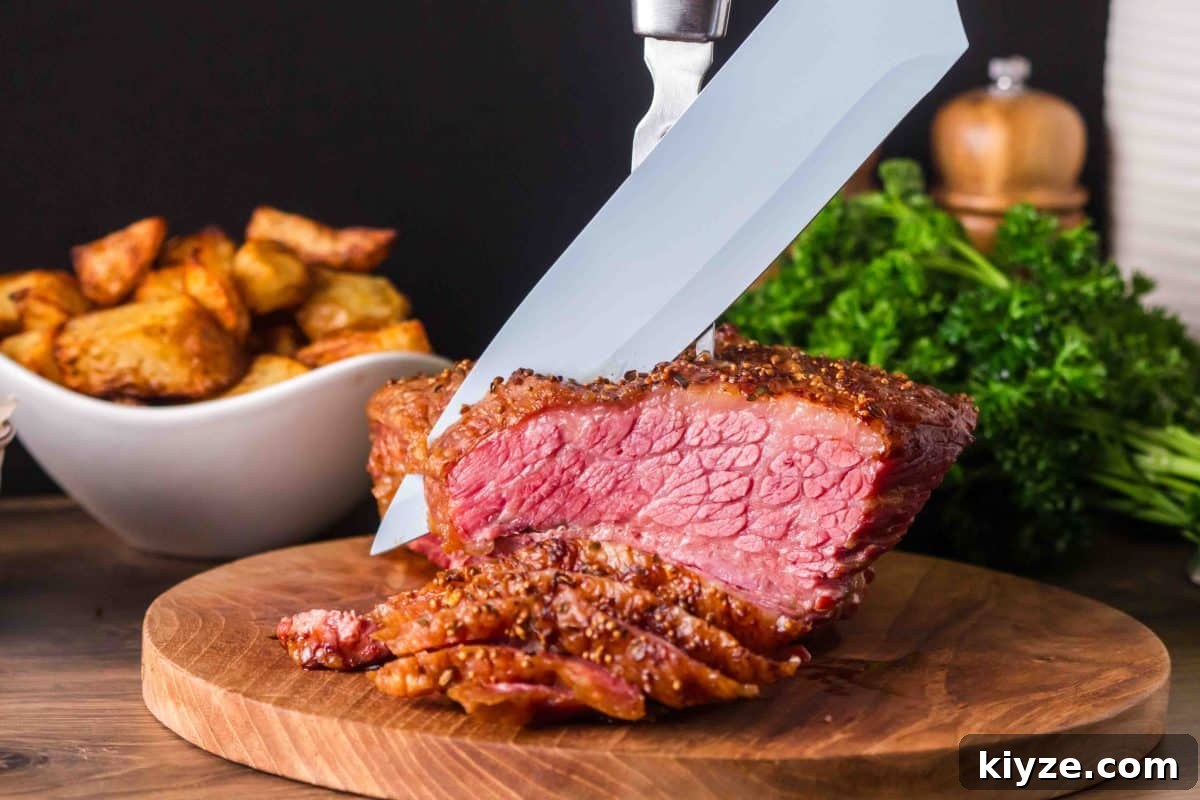
Why You’ll Love This Baked Corned Beef Recipe
Corned beef used to be just “okay” to me until I tried baking it. This method transforms the brisket: the meat becomes meltingly tender while the exposed edges brown and crisp, concentrating the curing spices and juices. Baking is low-effort and more reliable than boiling—there’s no constant monitoring, and the oven does most of the work.
The technique yields deep flavor and a great texture every time. It’s especially perfect for St. Patrick’s Day, paired with cabbage, carrots, and creamy mashed potatoes for a classic Irish-American feast.
What Is Corned Beef?
Corned beef is beef brisket that has been cured in a salty brine with pickling spices. The term “corned” refers to the large grains of salt—historically called corns—used in the cure. Most grocery stores sell corned beef already brined and vacuum-packed, typically including a small packet of pickling spices.
Keep the seasoning packet—you’ll use it to finish the top of the brisket before baking.
What You’ll Need
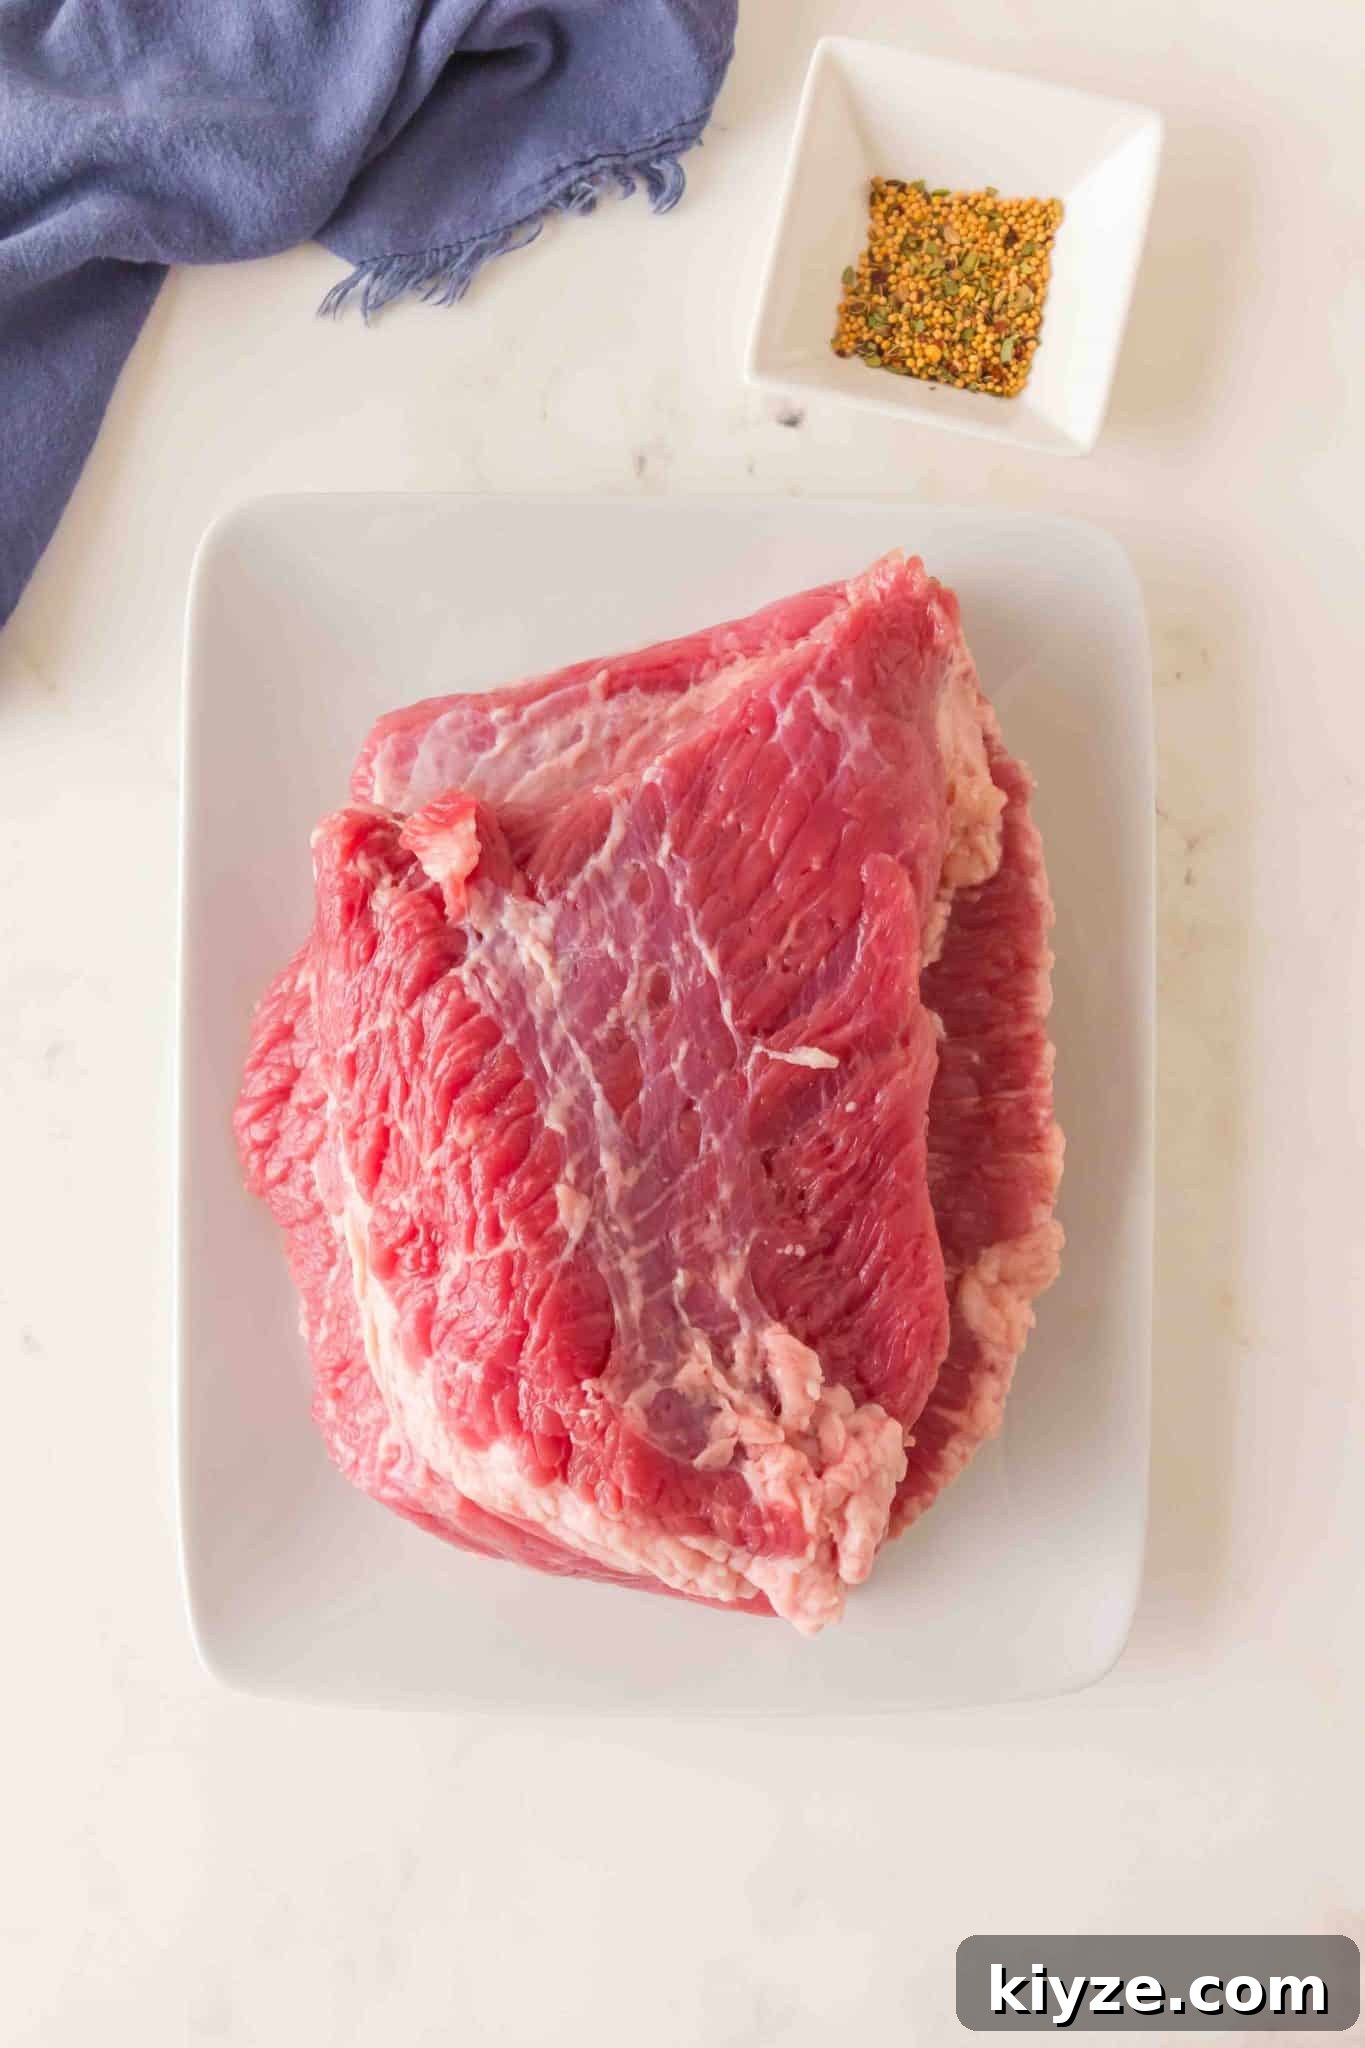
Ingredients
- Corned beef brisket (with seasoning packet)
- Water (for the pan)
Optional Vegetables
- 6–8 small potatoes, halved
- 4 large carrots, cut into 2-inch pieces
- 1 onion, quartered
- 1/2 head of cabbage, cut into wedges
Equipment
- Roasting pan or large baking pan
- Roasting rack or grate that fits in the pan
- Instant-read thermometer (recommended)
How to Make Baked Corned Beef
Step 1: Prepare the Pan
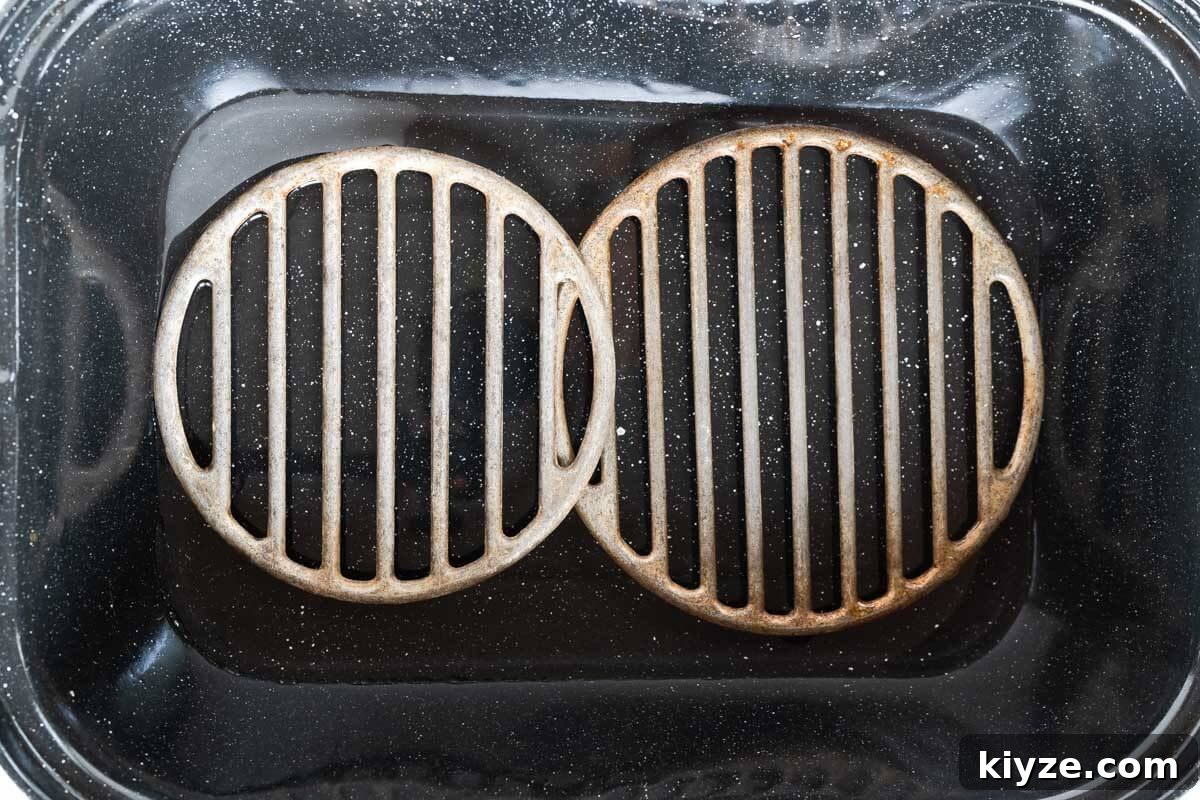
Preheat the oven to 325°F (163°C). Place a roasting rack or grate inside your roasting pan or baking dish. Pour hot water into the pan so it reaches just below the rack—close to the meat but not touching it. The water will generate steam to keep the brisket moist while the rack allows air to circulate for browned edges.
Step 2: Prep the Meat
Remove the corned beef from its packaging and rinse under cold water to remove excess brine and surface salt. Pat the brisket dry with paper towels. Trim the fat cap if it’s excessively thick, leaving about 1 inch of fat to keep the meat flavorful. Place the brisket fat-side up on the rack.
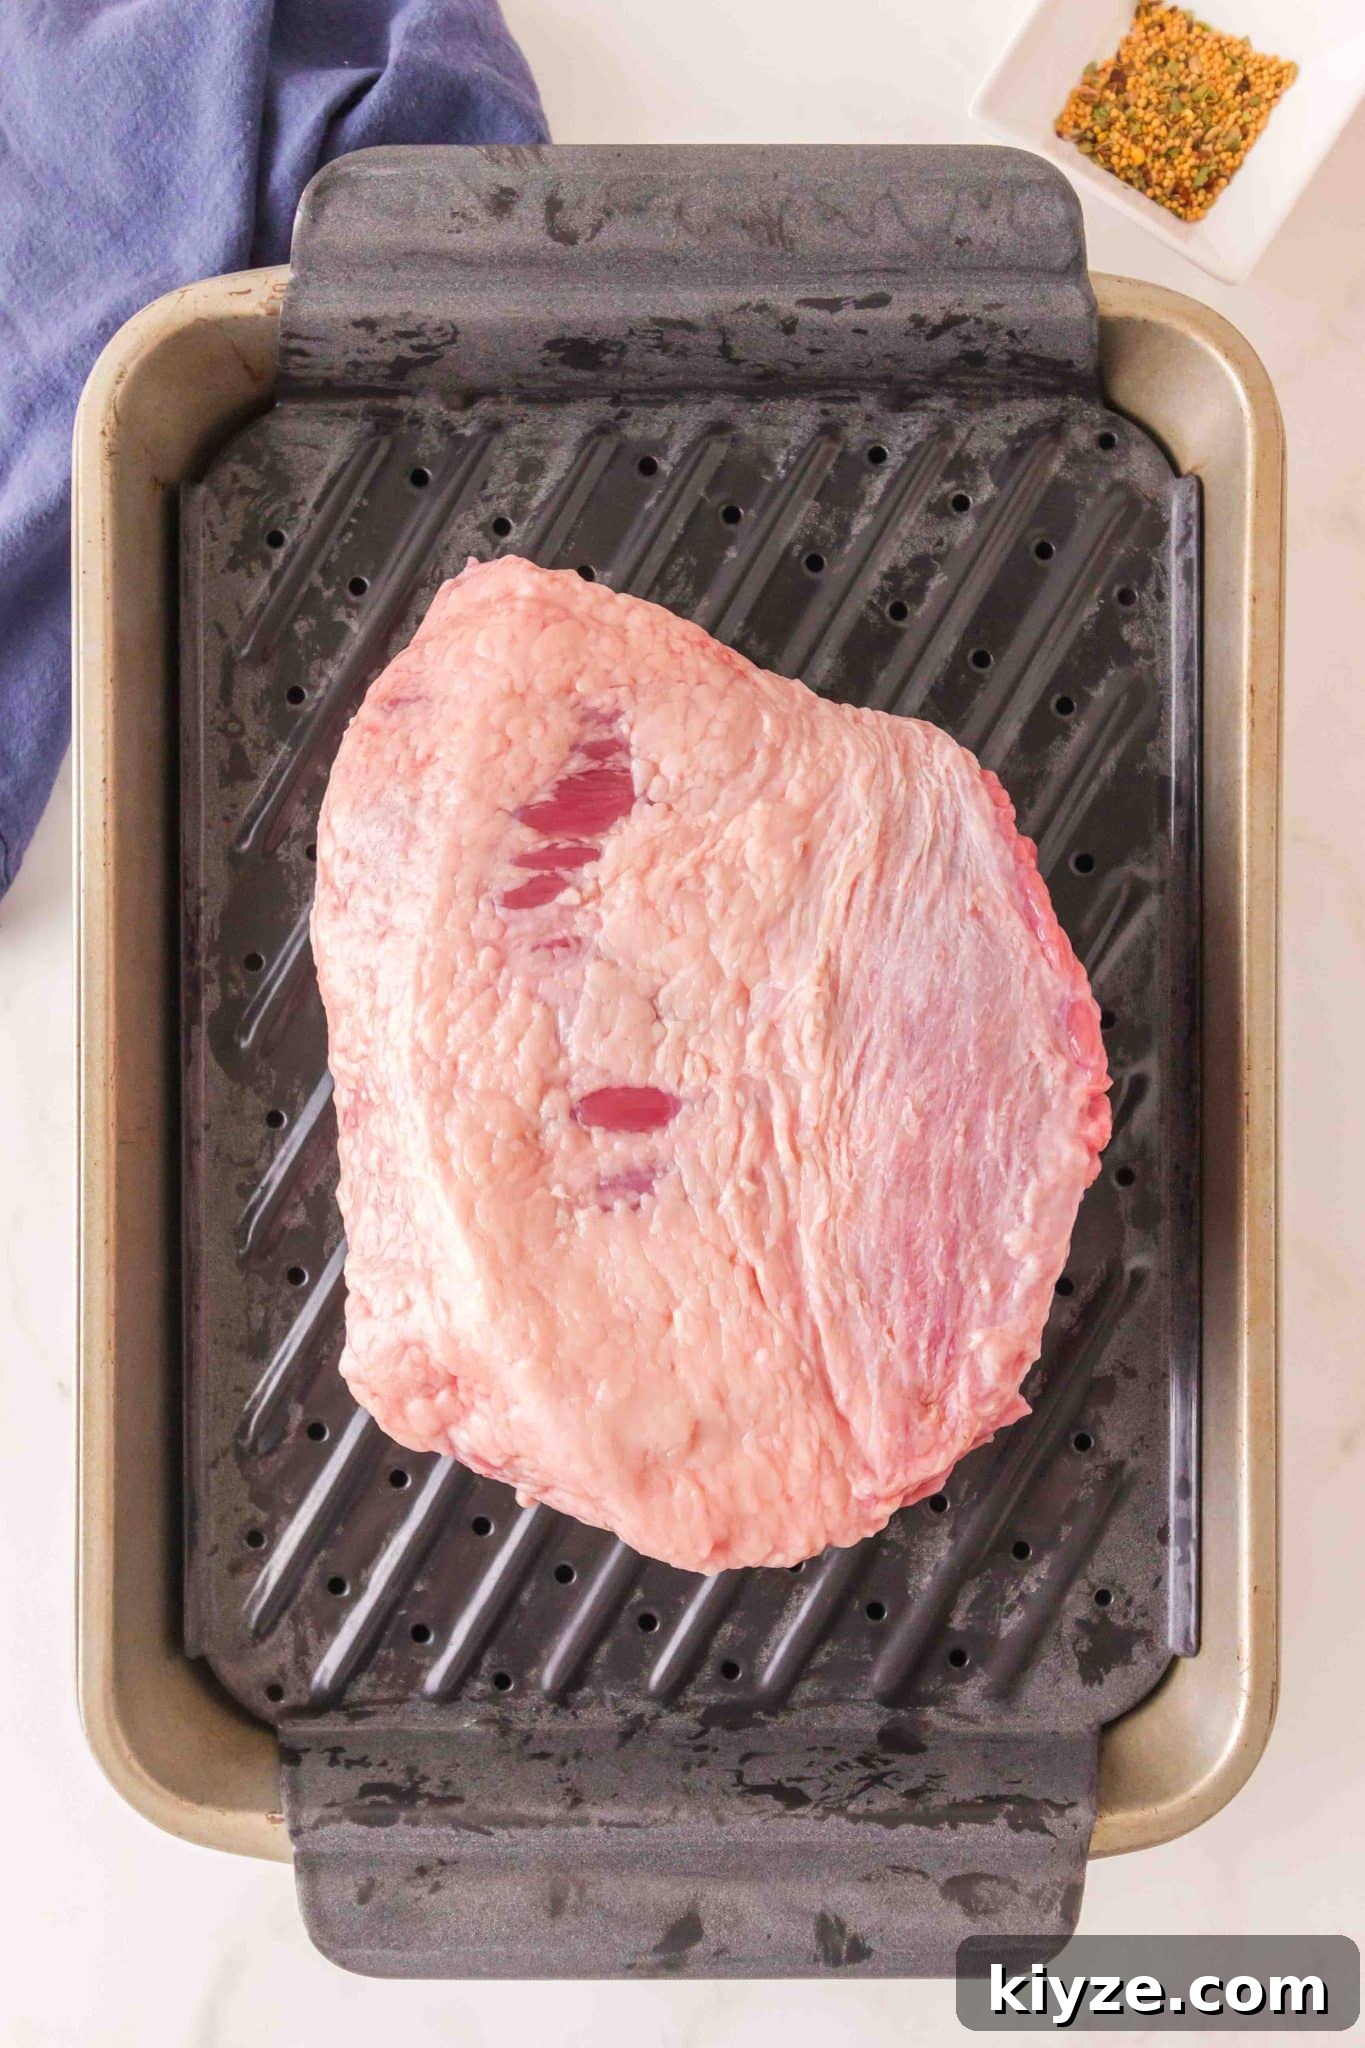
Step 3: Season and Cover
Sprinkle the contents of the seasoning packet evenly over the top of the brisket. Cover the pan tightly with a lid or aluminum foil and place it in the preheated oven. Bake covered for two hours to trap steam and allow the meat to cook gently.
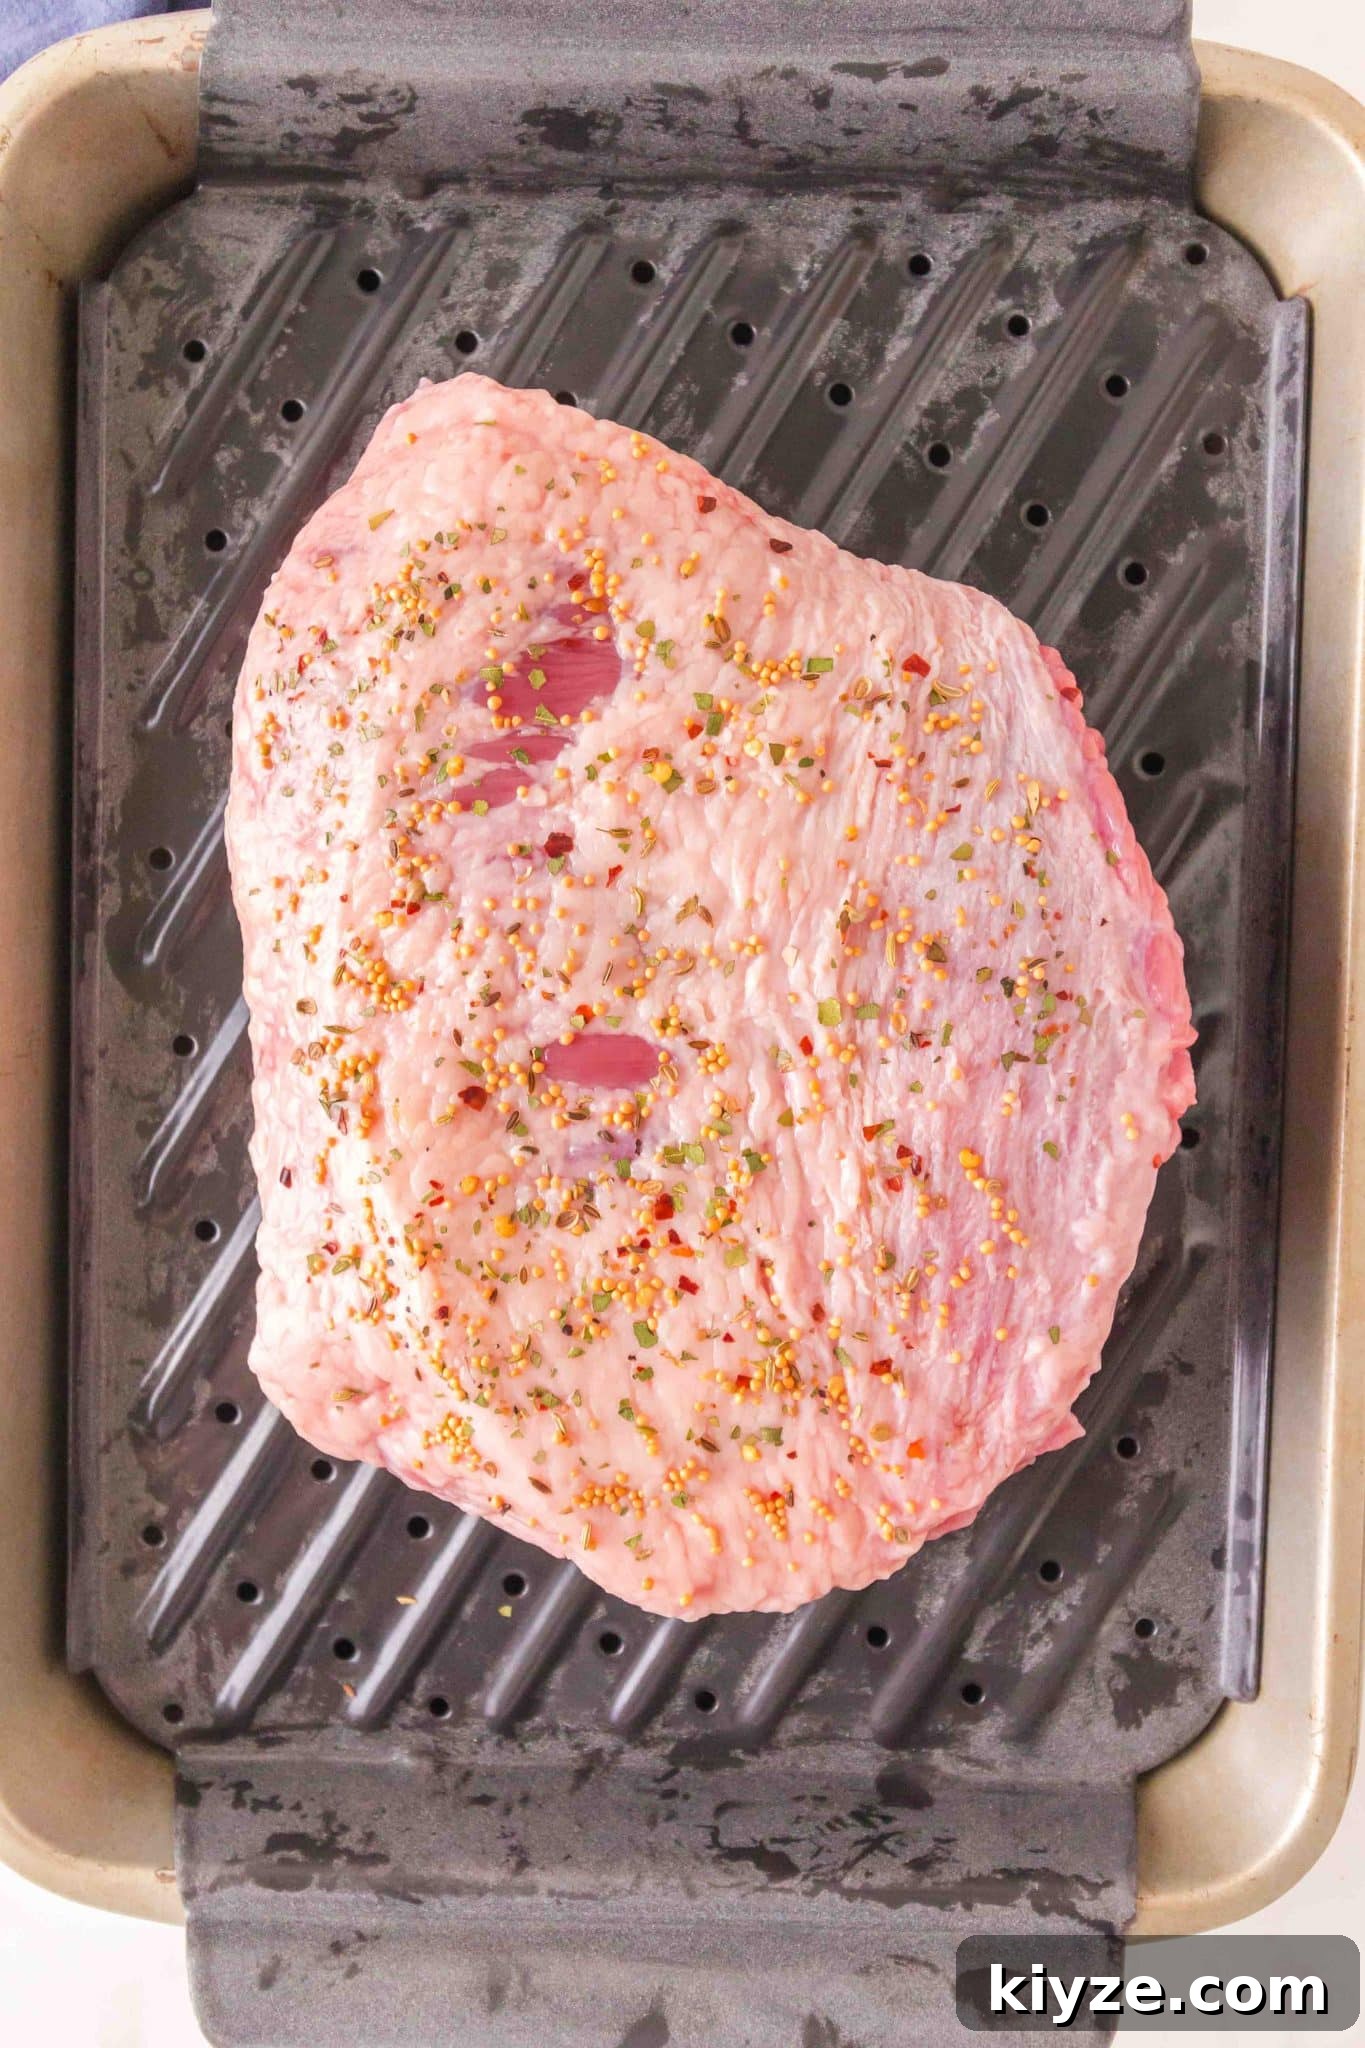
Step 4: Finish Baking
After two hours, remove the cover so the top can brown. Continue roasting for an additional 1 to 1.5 hours, or until an instant-read thermometer inserted into the thickest part reads around 190°F (88°C) for maximum tenderness and a fork slides in easily. Check the water level once or twice during cooking and add hot water if needed to maintain the steam bath.
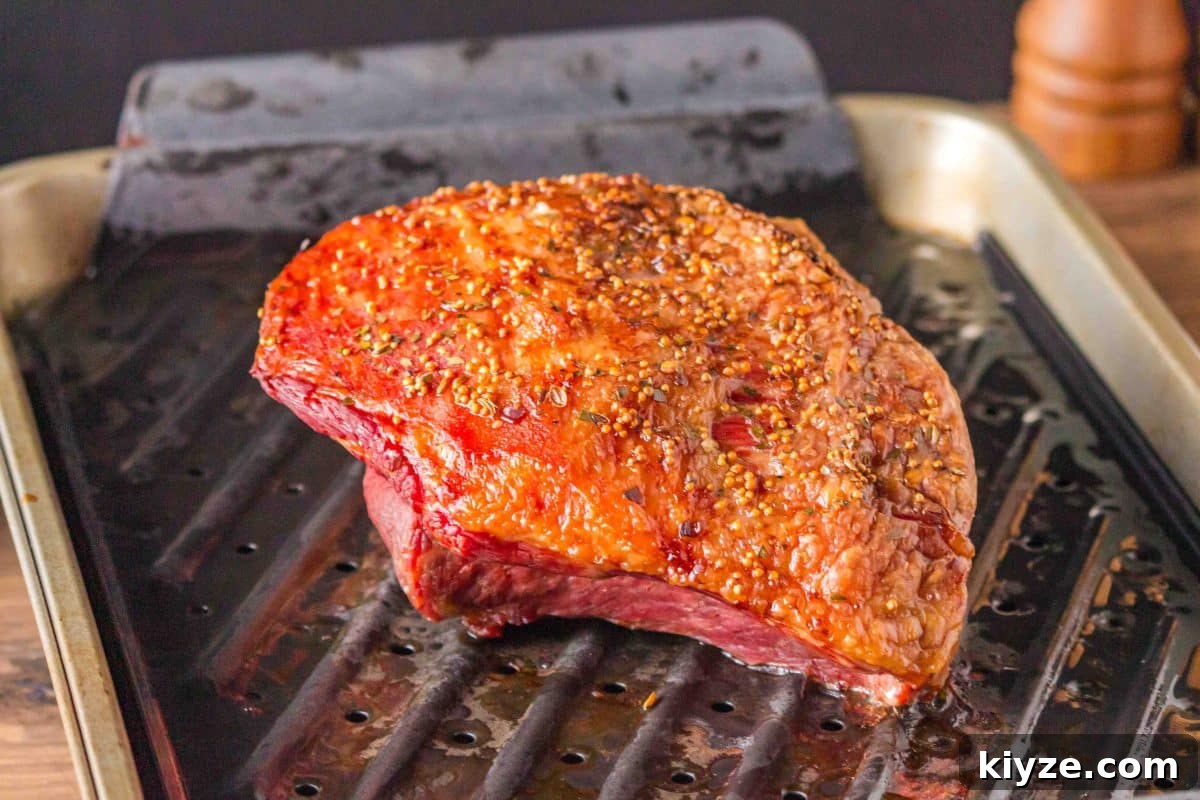
Step 5: Add Vegetables (Optional)
For a one-pan meal, add vegetables to the water below the rack:
- Potatoes and carrots: Add about 90 minutes before the end of cooking so they become tender.
- Onions: Add about 30–45 minutes before the brisket is done.
- Cabbage wedges: Add during the last 20–30 minutes so they stay slightly crisp-tender.
The veggies will steam in the flavorful liquid and absorb the corned beef seasonings.
Step 6: Rest and Slice
Remove the brisket from the oven and let it rest 10–15 minutes before slicing. Resting helps the juices redistribute. Always slice against the grain for the most tender bites.
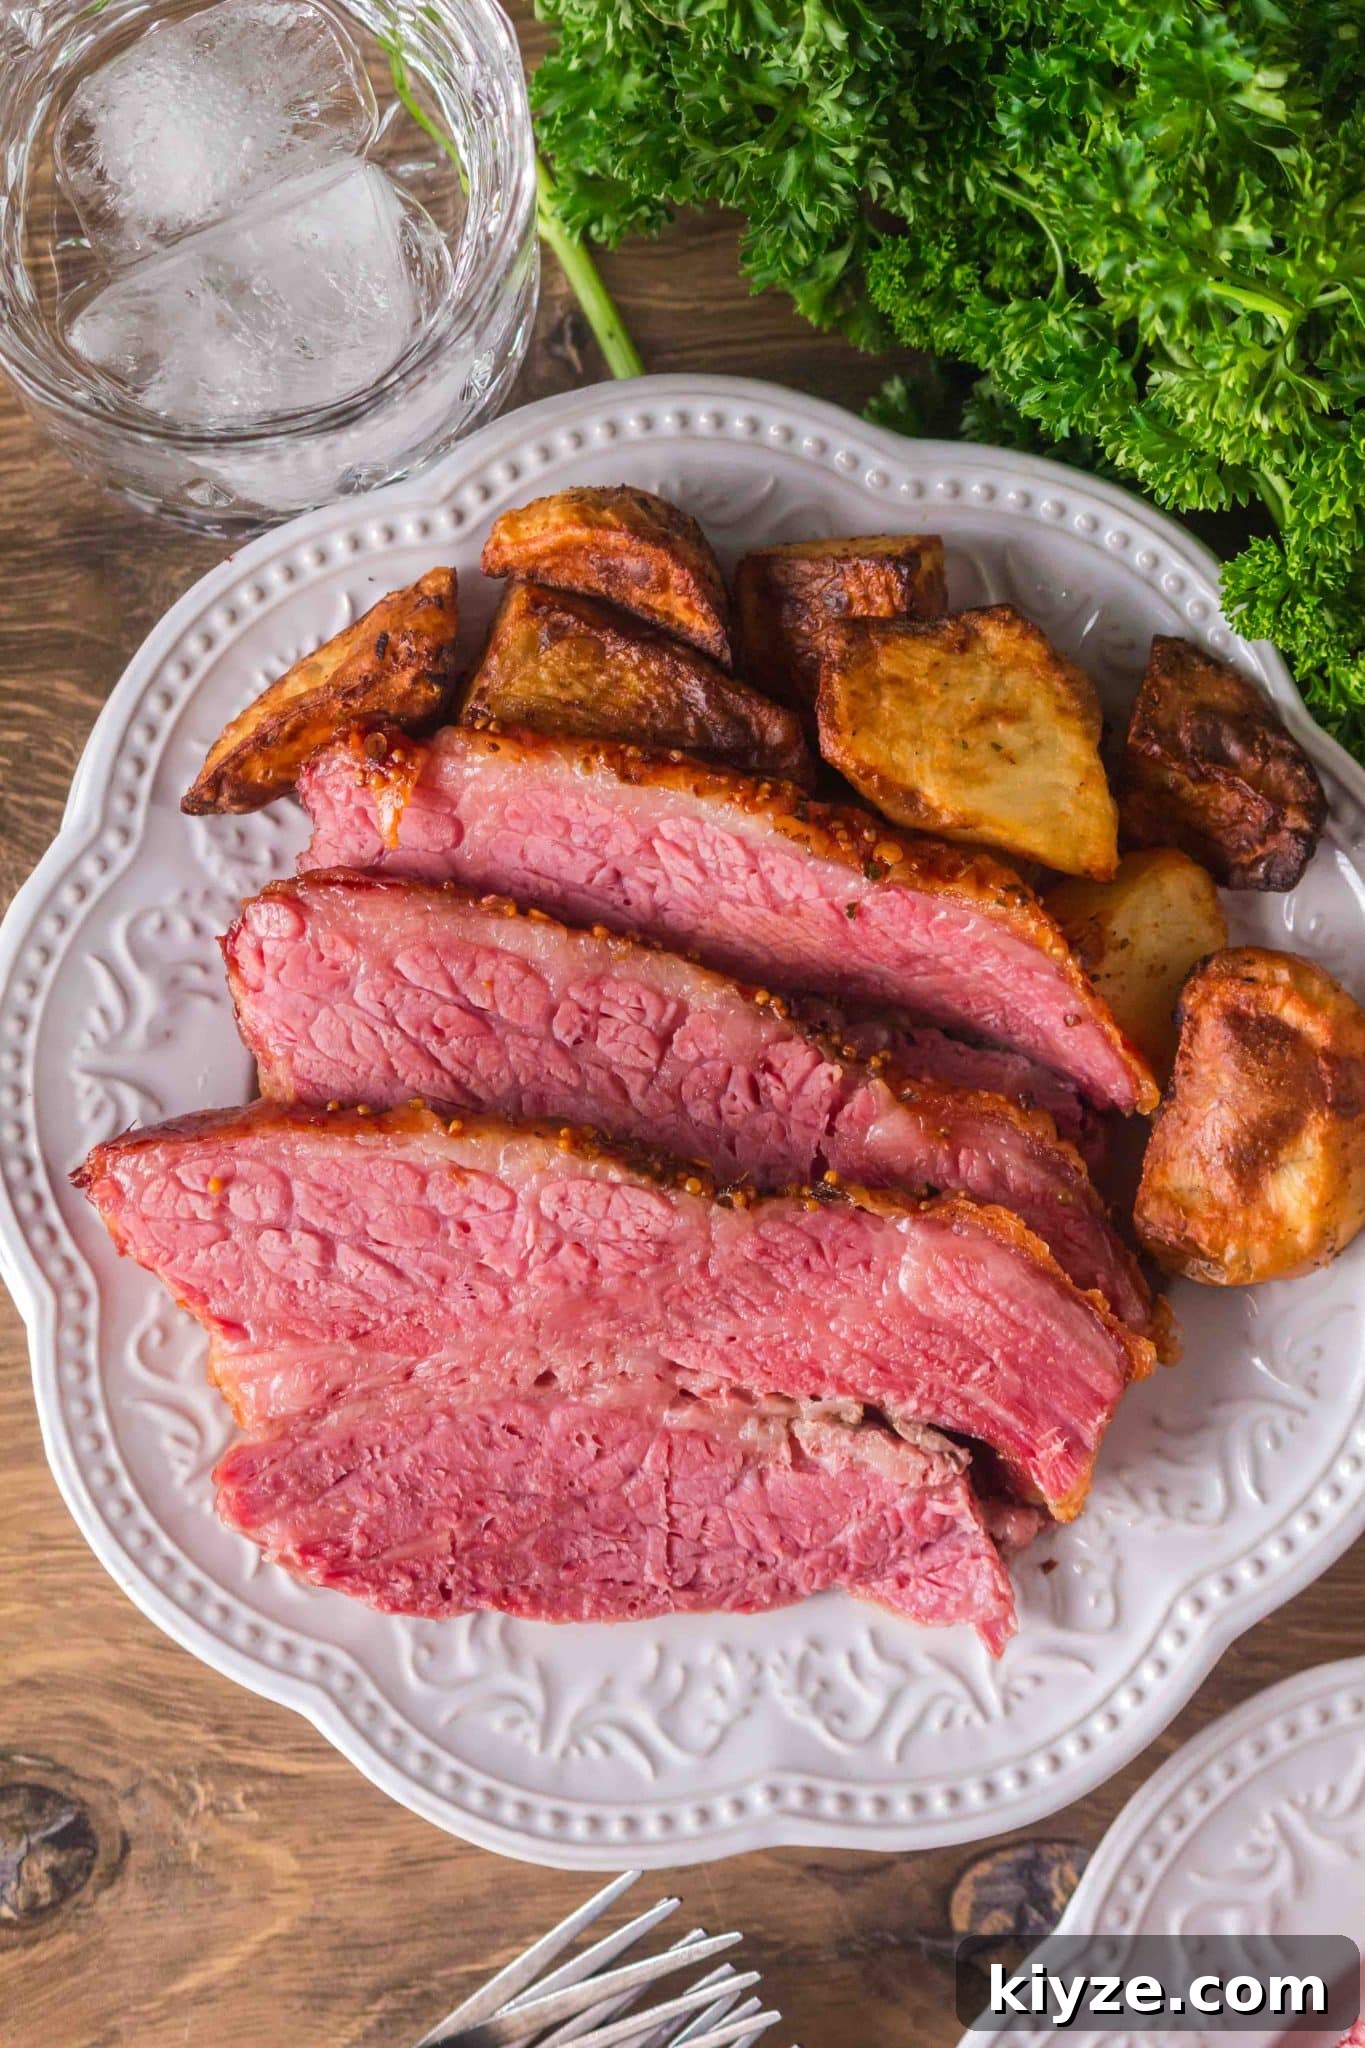
Expert Tips for Success
- Rinse the brisket: Rinsing removes excess surface salt and yields a better-balanced final flavor.
- Keep an eye on the water: Maintain a shallow water bath so steam remains throughout cooking.
- Fat cap: Trim to about 1 inch—leave some fat to baste the meat as it roasts.
- Fat side up: Position the brisket fat-side up so it self-bastes during roasting.
- Slice against the grain: Cutting perpendicular to the muscle fibers makes the meat tender to eat.
FAQ
Flat cut vs. point cut: Flat cut is leaner and slices uniformly for a nice presentation; point cut has more marbling, offering richer flavor but less tidy slices.
Servings: Plan roughly 1/2 pound per person for hearty appetites, or 1/3 pound if you have many sides. A 3 lb brisket serves about 6–8; a 4 lb brisket serves 8–10.
Cooking time: At 325°F, allow about 30–40 minutes per pound. A 3–4 lb brisket typically needs 2–3 hours total (including covered time).
No spice packet? Mix your own: 1 tablespoon black peppercorns, 1 teaspoon mustard seeds, 1 teaspoon coriander seeds, 2 bay leaves, and 1/2 teaspoon red pepper flakes.
Leftovers: Refrigerate tightly wrapped for up to 4 days or freeze for up to 2 months. Leftover corned beef is excellent in sandwiches, soups, casseroles, and hash.
No rack? Fashion a makeshift rack from rolled-up aluminum foil so the meat sits above the water.
Leftover Corned Beef Ideas
- Corned beef and cabbage soup
- Au gratin potatoes with corned beef
- Corned beef breakfast casserole with potatoes and cheese
- Corned beef sandwich with slaw and mustard
Originally shared February 21, 2021 — Updated February 2, 2026. Enhanced with new images and clarified instructions and tips. No changes were made to the recipe itself.