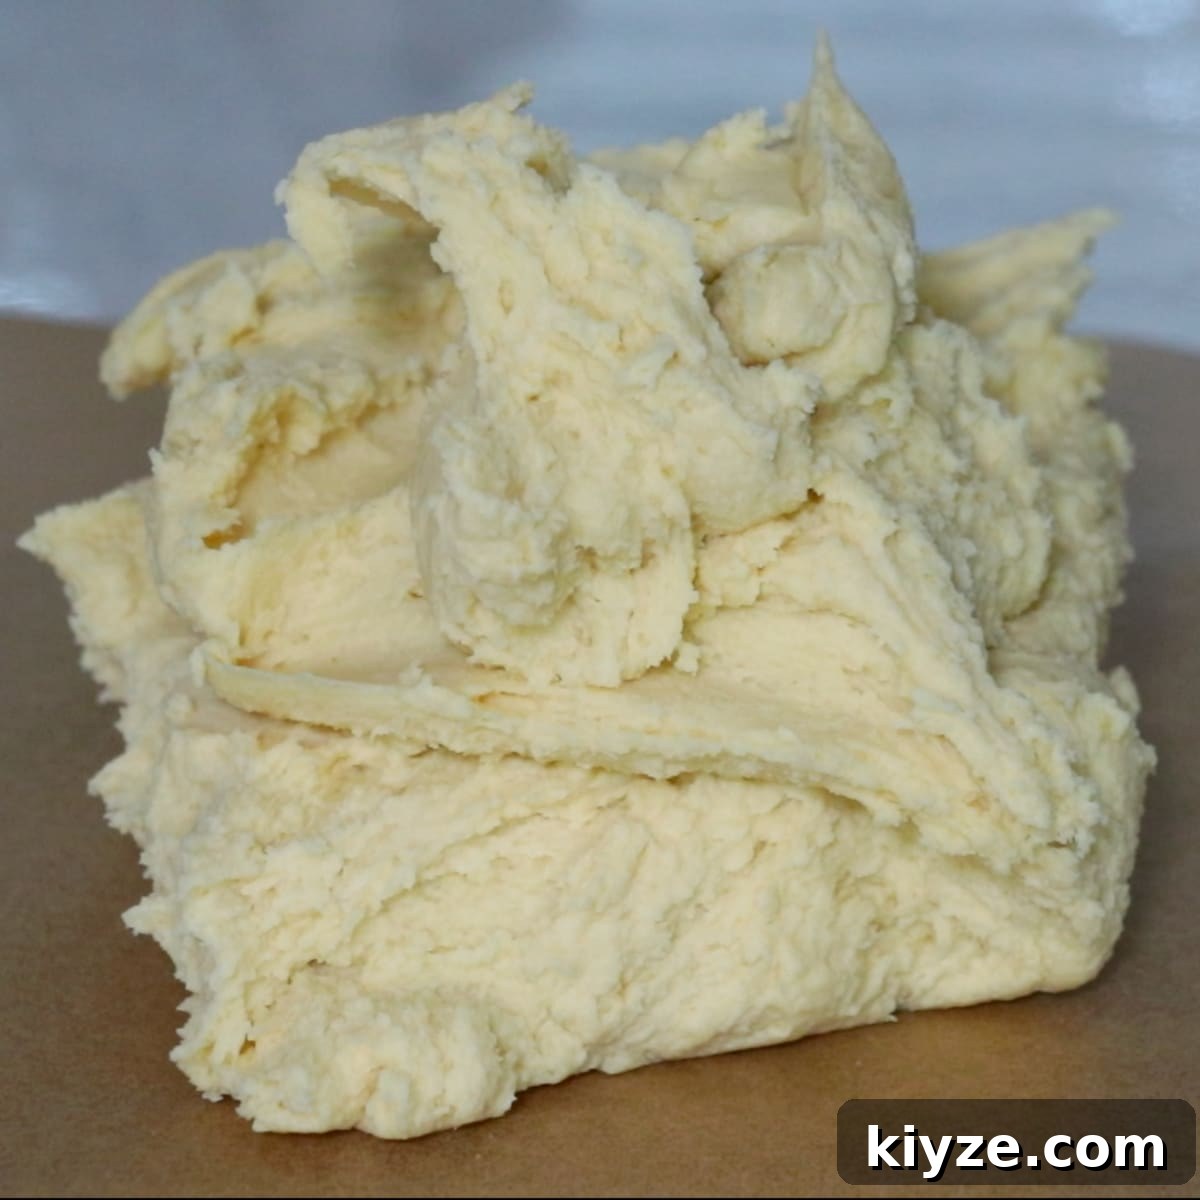
Looking for a straightforward, delicious icebox cookie recipe? This versatile dough is perfect for slice-and-bake cookies — from classic checkerboard patterns to festive shapes and more.
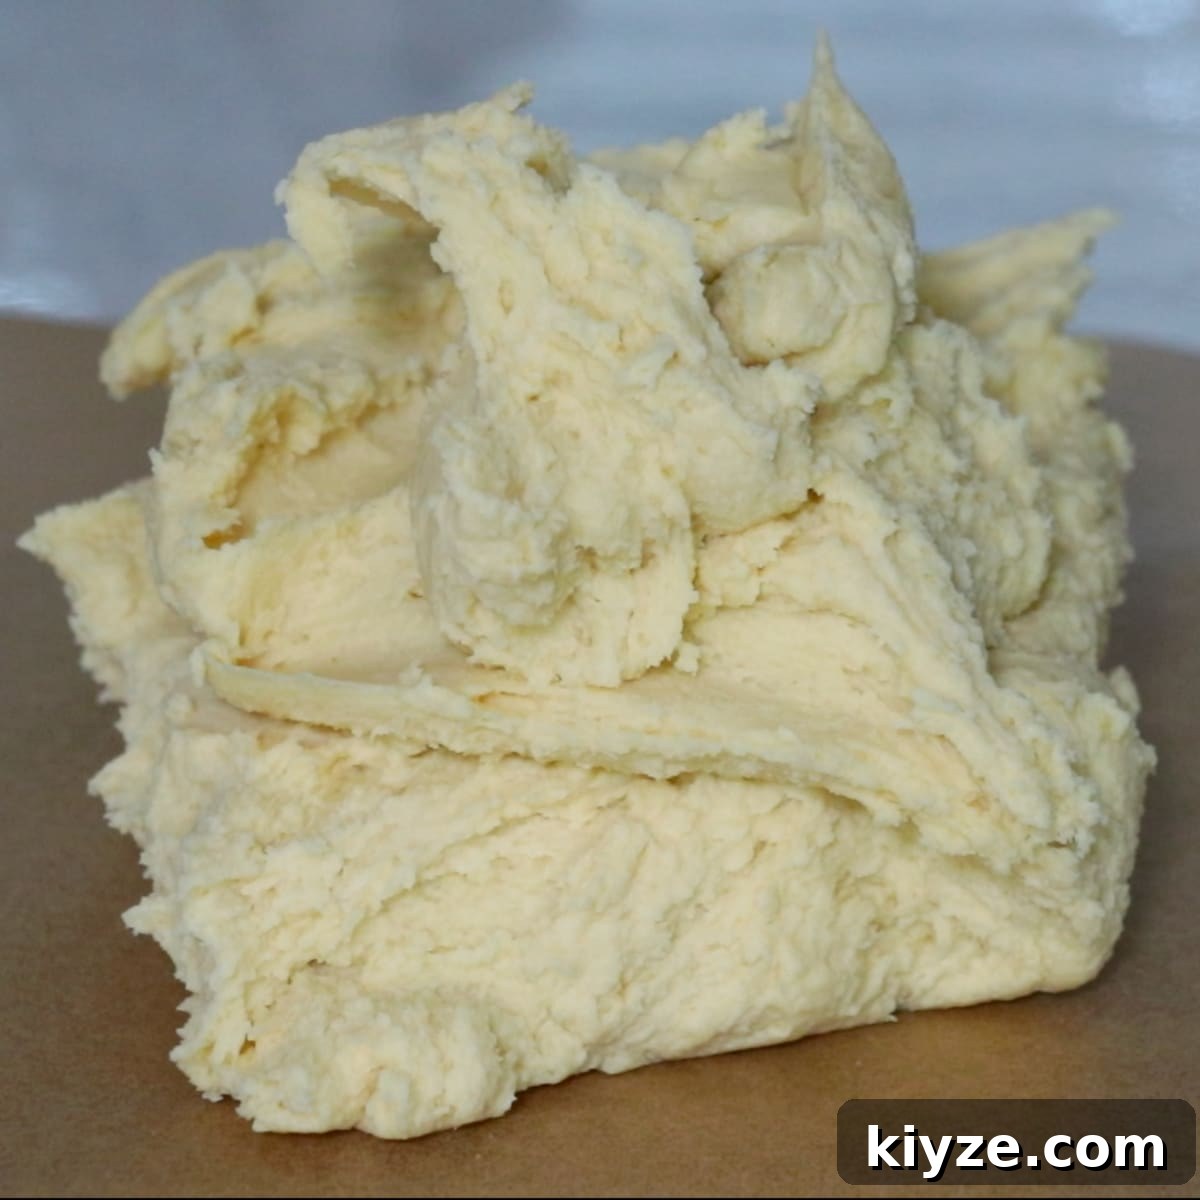
I use this base recipe for many slice-and-bake designs — everything from Santa and wreath cookies to reindeer, gift boxes, and trees. One batch of this dough gives you a flexible foundation to create many different cookie shapes and patterns.

Why We Love This Icebox Cookie
- The dough keeps its shape beautifully in the oven, so detailed slice-and-bake designs come out crisp and clear.
- Finished cookies are rich, buttery, and pleasantly crisp.
- The dough is quick and simple to make — you can have it ready in about 15 minutes.
VIDEO: Watch How To Make the Icebox Cookies!
Follow the slice-and-bake tutorial to see every step, technique, and tip in action — it helps make shaping and slicing much easier to visualize.
If you enjoy the video, consider subscribing to the channel for more baking tutorials.
What’s In Icebox Cookie Dough?
- Unsalted butter — Use softened butter so ingredients incorporate smoothly.
- Powdered sugar — Powdered sugar gives a finer, more tender crumb than granulated sugar.
- Salt — Balances the sweetness and enhances flavor.
- Whole egg — Adds structure and moisture.
- Egg yolk — Adds richness; save the white if you need an egg wash.
- Cake flour — Keeps the texture soft and delicate.
- Almond flour — Adds tenderness and a slightly crumbly bite.
6 Steps To Make Icebox Cookies
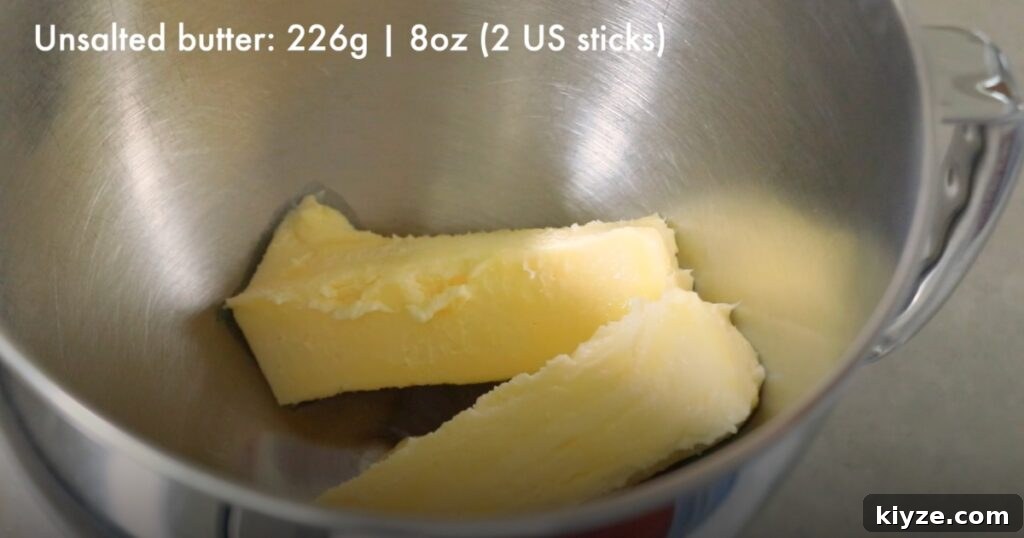
Step 1: Mix soft butter, powdered sugar, and salt.
Aya’s Tips 💡
- Start with properly softened butter so mixing is effortless.
- Mix at low speed at first to avoid a cloud of sugar; then increase speed until smooth.
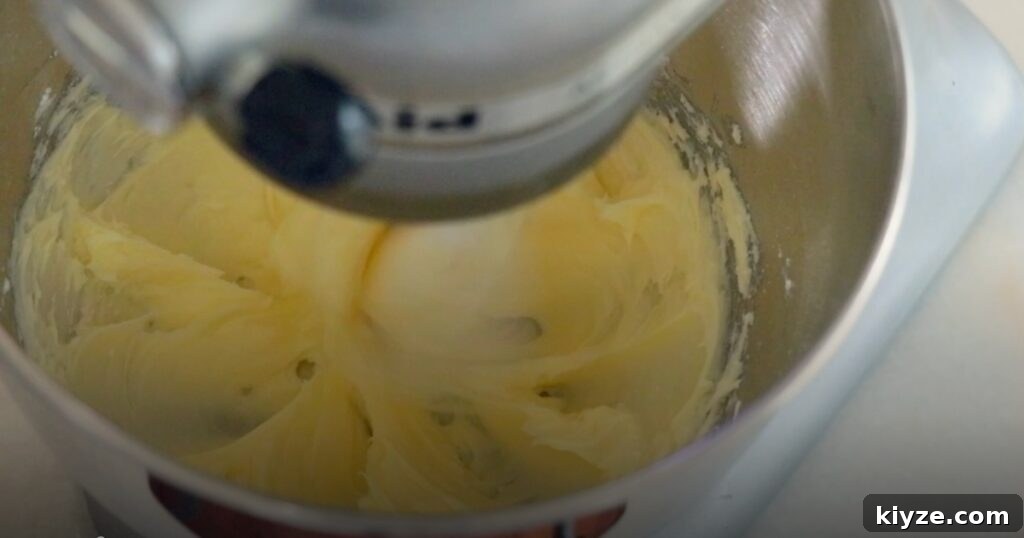
Step 2: Add the whole egg and yolk, then mix until smooth.
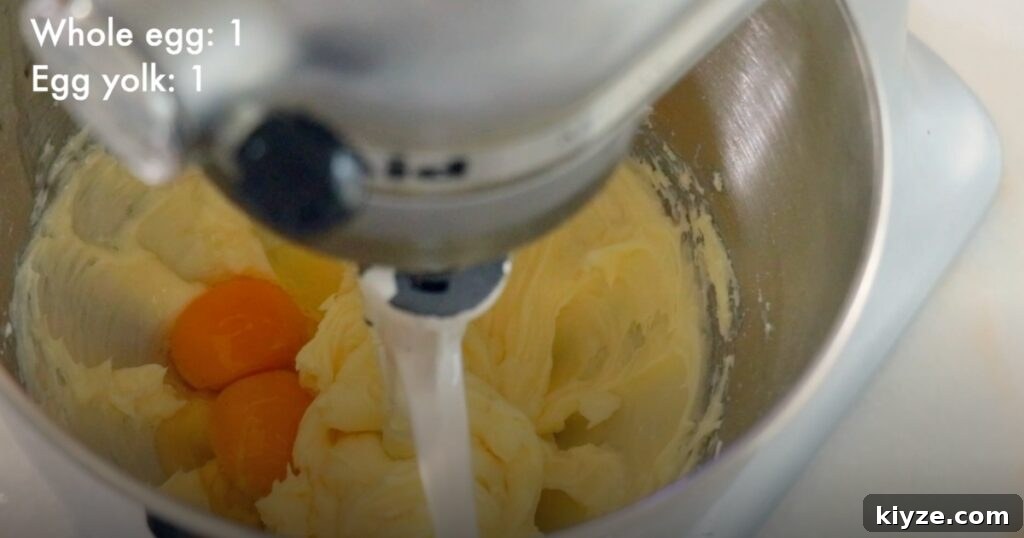
Aya’s Tip 💡
The mixture may look separated at first — that’s normal. Scrape down the bowl and continue mixing; the emulsion will come together shortly.
How long should we whip the butter?
The longer you beat the butter, the more air it absorbs and the lighter the cookies will be. I usually stop when the mixture looks smooth. Adjust mixing time based on whether you want a denser or airier cookie.
Step 3: Add cake flour and almond flour and mix.
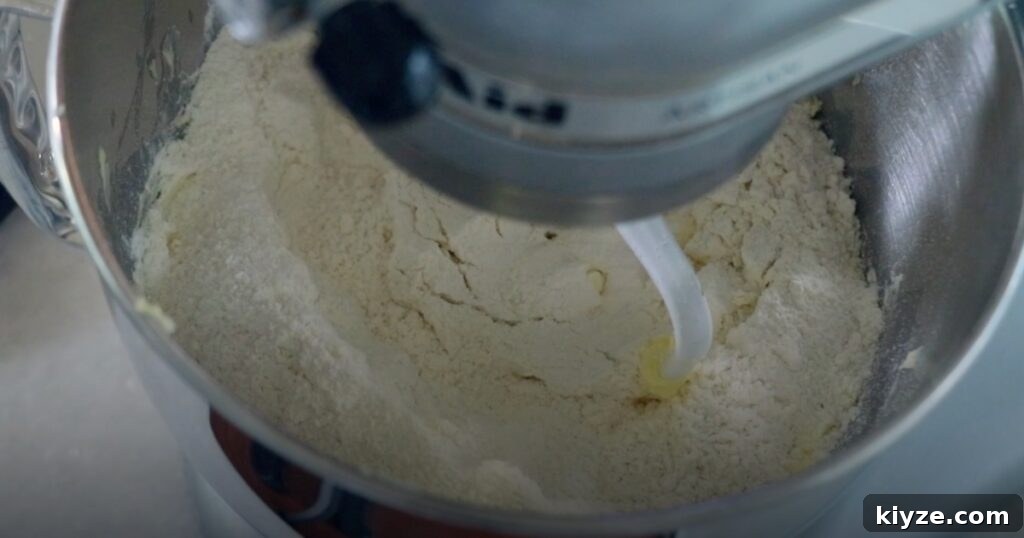
Aya’s Tips 💡
- Clean any butter and flour from the bowl and paddle as you work so the dough mixes evenly.
- This batch yields just over 850 g of dough — plenty for multiple designs.
Step 4: Color the dough and shape it.
Divide, color, and shape the dough however you like. You can make logs for slicing or assemble layered patterns for checkerboard or themed cookies.
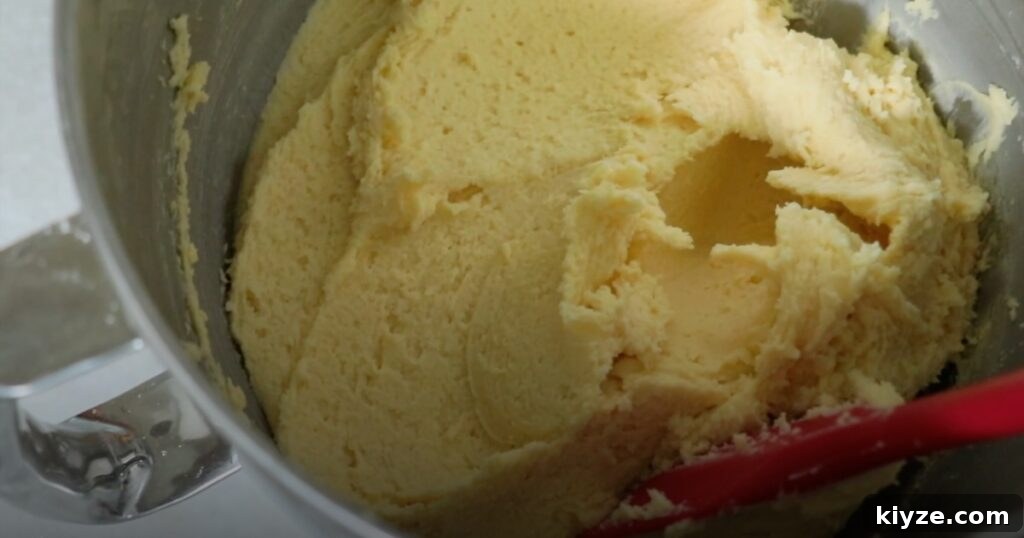
Food coloring recommendation
Paste or gel food colorings are best — they provide strong color without watering down the dough. Liquid dyes can change dough consistency if you use a lot.
Step 5: Chill the dough, then slice.
Chilling firms the dough so you can slice cleanly without deforming the shapes. For best results, freeze the assembled logs briefly before slicing.
Step 6: Bake!
Keep sliced cookies chilled until just before baking so they spread minimally. I often freeze the slices briefly to preserve crisp edges and detail.
Bake at 340–350°F for about 7–10 minutes, then reduce the oven to 330°F and bake another 7–10 minutes.
- Times and temperatures will vary by oven and cookie thickness — adjust as needed.
- Bake until the edges show a light golden caramel color for a crisp, delicate texture.
Design Ideas For the Icebox Cookies
This dough is ideal for personalized cookies for birthdays, holidays, or any celebration. You can layer, stack, or roll colored dough to create patterns like checkerboards, stripes, or holiday motifs. The slice-and-bake method makes it easy to produce many identical cookies quickly.
Frequently Asked Questions
Wrap the dough tightly and refrigerate for up to 4 days, or freeze for several months. Properly wrapped dough stores well and is convenient to slice and bake later.
Keep baked cookies in an airtight container at room temperature for up to 4 days, or refrigerate for up to 2 weeks. For maximum crispness, add a food-safe desiccant like silica gel to the container, or re-crisp briefly in a low oven before serving.
Yes — vanilla, citrus zest, almond extract, or finely ground spices all work well. Add flavors sparingly so they don’t affect dough texture.
No. Because the dough contains raw eggs and butter, refrigerate or freeze it for safety and to maintain its shape.
More Basic Cookie Recipes
If you enjoy this dough, try other classic cookie recipes from the same collection for more baking ideas and techniques.
- Shortbread cookies
- Butter cookies
- Tuiles
- Cut-out sugar cookies
Did you try the recipe?
Please share your feedback in the comments. I’d love to hear how your cookies turned out and what designs you made for friends and family.
Thank you! – Aya

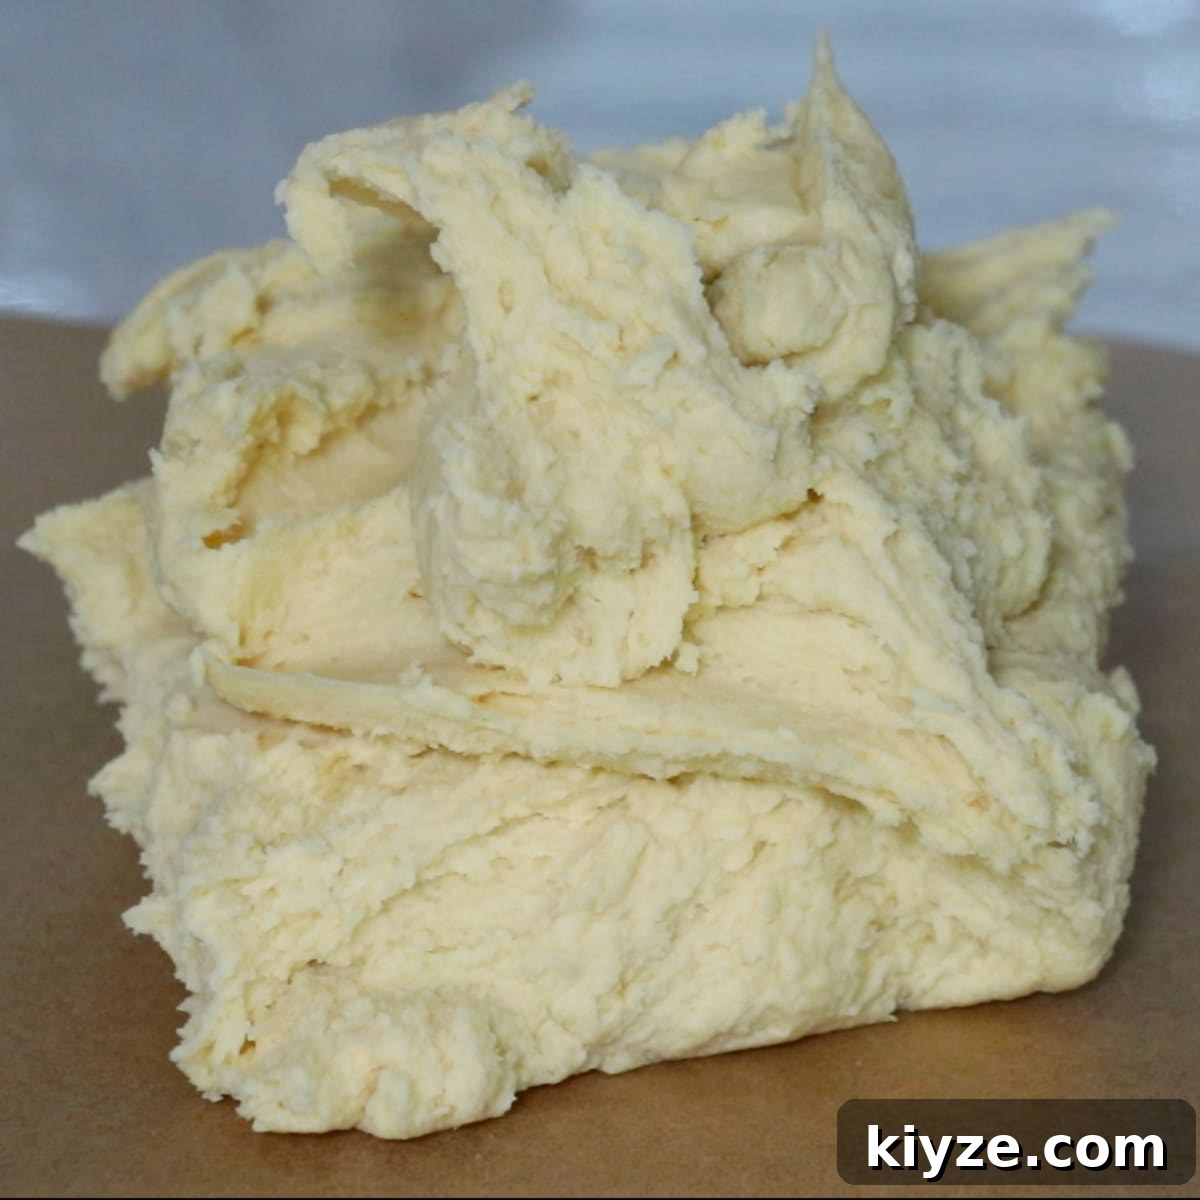
Icebox Cookies (for slice-and-bake cookies)
Pin Recipe
Equipment
Method
Nutrition
Notes
Video
Ingredients
-
226 g (1 cup) Butter (softened) -
160 g (1 ⅓ cups) Powdered sugar -
¼ teaspoon Salt -
1 egg Whole egg -
1 yolk Egg yolk
Save the egg white for egg wash if needed. -
350 g (3 cups) Cake flour -
70 g (¾ cup) Almond flour
NOTE: For best accuracy, weigh ingredients. These recipes are designed with gram/ounce measures; cup conversions are provided for convenience.
Equipment
-
Stand mixer with paddle attachment or a bowl with whisk and spatula
-
Whisk to blend flours
-
Rubber spatula
-
Plastic wrap for wrapping dough
Method
-
Mix softened butter, powdered sugar, and salt until the mixture is smooth and even.226 g Butter (softened), 160 g Powdered sugar, ¼ teaspoon Salt
-
Add the whole egg and the yolk and mix until homogeneous. Scrape down the sides and bottom of the bowl as needed.1 egg Whole egg, 1 yolk Egg yolk
-
Add cake flour and almond flour and mix until evenly incorporated. Clean the paddle and bowl to ensure even texture.350 g Cake flour, 70 g Almond flour
-
Color and shape the dough as desired. Freeze the assembled logs briefly, then slice. Chill the slices completely (preferably in the freezer) before baking to prevent spreading.
-
Bake at 340–350°F (about 176°C) for 7–10 minutes, then reduce the temperature to 330°F (about 165°C) and bake another 7–10 minutes or until the edges are lightly golden. Adjust times and temperature for your oven and cookie thickness. Bake until the edges show a gentle golden caramelization for a light, crispy texture.
Notes
This recipe yields just over 850 g of dough, enough for many slice-and-bake cookies.
Nutrition
Carbohydrates: 36g
Protein: 8g
Tried this recipe?
Let us know how it went!